Using Sliders
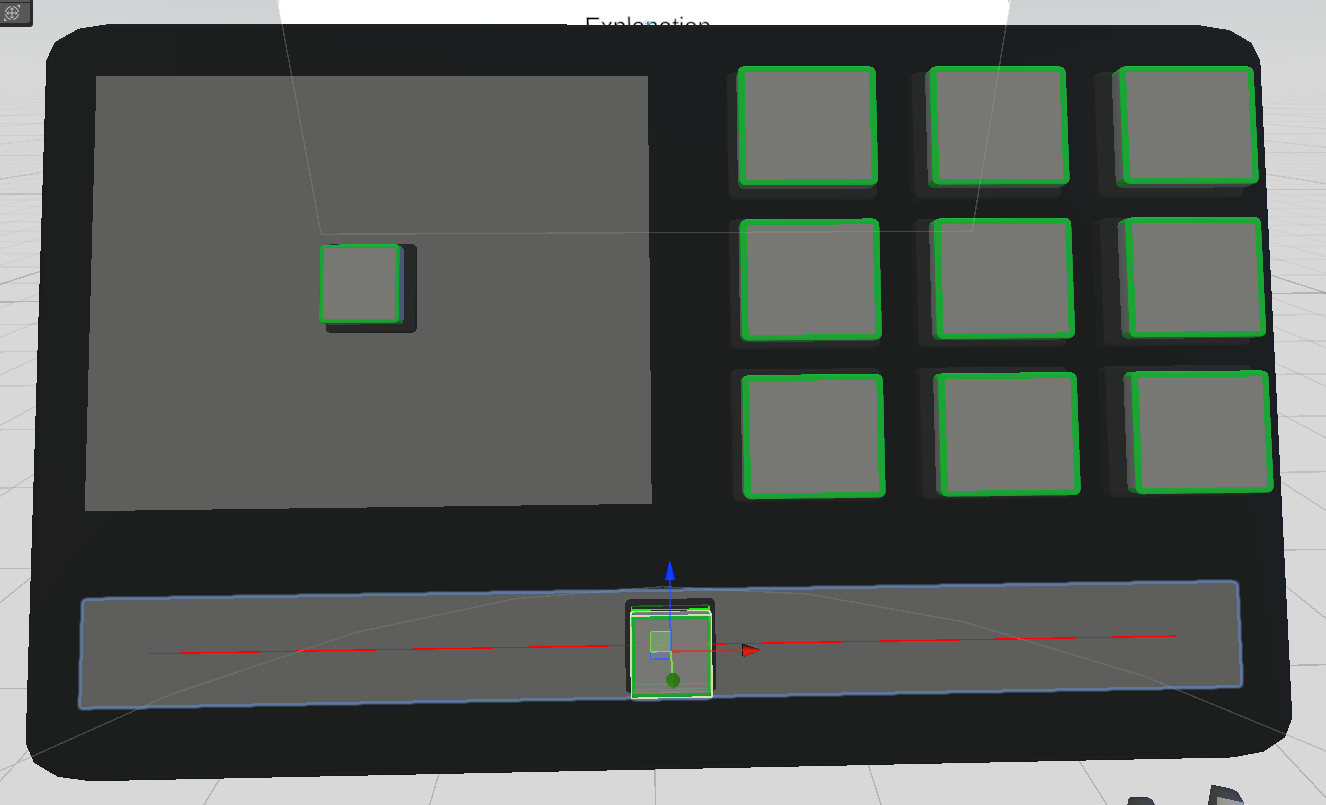
Ultraleap offers two basic slider prefabs: a 1D slider which is included in the base plugin and a 2D slider which can be found in the XR Examples.
You can access the 1D slider prefab in the file menu "Ultraleap > Physical Interaction". Both sliders can also be found in the "Physical UI" scene. These sliders can be added and modified to suit your needs.

What does this Prefab do?
The prefabs allow you to quickly add physical sliders to your scene. These will work out of the box and can be scaled to suit your needs.
A slider consists of a slider base (which has the Physical Hands Slider script on it) and a slideable object which is a child of the slider base.
1D sliders can move on either the X or Z axis and their start position and travel distance can be customised and adapted to your needs.
You can even add a button as the slideable object which means that the slider will only move when the button is pressed.
When should you use this prefab?
The prefabs are an ideal starting place to customise your own sliders. Change the slider base mesh (or delete the mesh entirely) and/or the slideable object to customise the appearance and function. Everything is set up already to use in your own scenes.
This page also explains how to assemble a slider if you prefer to do it manually.
Where can you find these prefabs?
The 1D slider prefab can be found in UltraleapTracking/PhysicalHands/Runtime/Prefabs
Set-Up your own sliders
Add an empty game object to your scene then add the
Physical Hands Sliderscript to the object. This script will automatically add a rigidbody to your object.
Note
The added rigidbody is a standard rigidbody and as such, it will have “Use Gravity” enabled by default. We recommend that the button has “Use Gravity” disabled, “Is Kinematic” enabled and freeze all constraints. This ensures that the base button object cannot move.
Add a slideable object as a child of your physical slider object and set it as the slideable object variable on the
Physical Hands Sliderscript.
Note
If you are adding a button as the slideable object, it will automatically populate the “Connected Button” field. If you do not wish to use a button, leave the field empty.

Adjust the slider travel distance, slider direction and start position to suit your needs.
Note
The slider travel distance is in world space. i.e. 1 travel distance = 1m unity space.

Making Sense of the Inspector

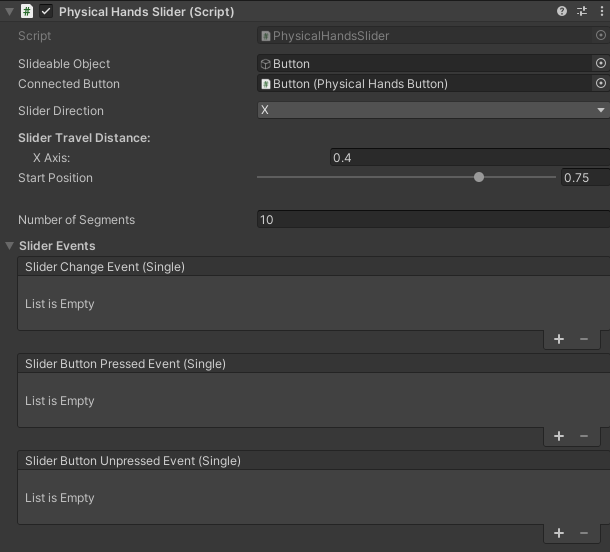
Slideable Object: This is the part of the button which the user slides across the length slider track. Assign your game object here. It will move along whichever axis is selected in the “Slider direction” field.
Connected Button: If a button is used as the slideable object, this field will auto populate. Otherwise, if you want the slider to only work when pressing a different Physical Button , add your button here.
Slider Direction: Determines whether the slider should move along the X or Z axis. The slider gizmo shows this axis and the travel extents.
Note
You can also rotate the slider object but we recommend you do not rotate the slideable object.
Slider Travel Distance: The distance the slider should move in total, measured in meters. This does not scale with slider scale.
Start Position: Sets the starting position of the slider - i.e. how far along the slider the slideable object should start - e.g. for the X axis, 0 means the slideable object starts all the way to the left and slider would report 0 for slide events.
Number of Segments: Defines a set of discrete steps where the slider will stop. Enter the number of segments here.
Note
Set the number of segments to zero if you want the slider to stop anywhere on the line.
Slider Events: This dropdown shows which unity events sinks can be assigned to the slider event source.
Note
These events also provide the travel distance / value.
What Scripts does this Prefab Use?
Physical Hands Slider Editor