Create Haptics with Sensation Designer
Sensation Designer is a powerful tool that empowers you to craft immersive and engaging mid-air haptic feedback sensations that defy conventional touch boundaries. Whether you are a seasoned designer or an aspiring enthusiast, this step-by-step guide will walk you through the process of bringing your haptic sensations to life.

Hapticons are a way to convey meaning via a haptic metaphor. Here a haptic line projected on the hand is used to represent the temperature rising and falling in a thermometer. The ”thermometer” haptic metaphor can then be used as a hapticon in an automotive setting for a feature like cabin temperature control.
Overview of the user interface
‘Interact’ View
The Interact View provides a collection of interaction UI component examples combined with gesture control & mid-air haptics. These serve as a valuable reference and source of inspiration for prototyping effective haptic interactions.
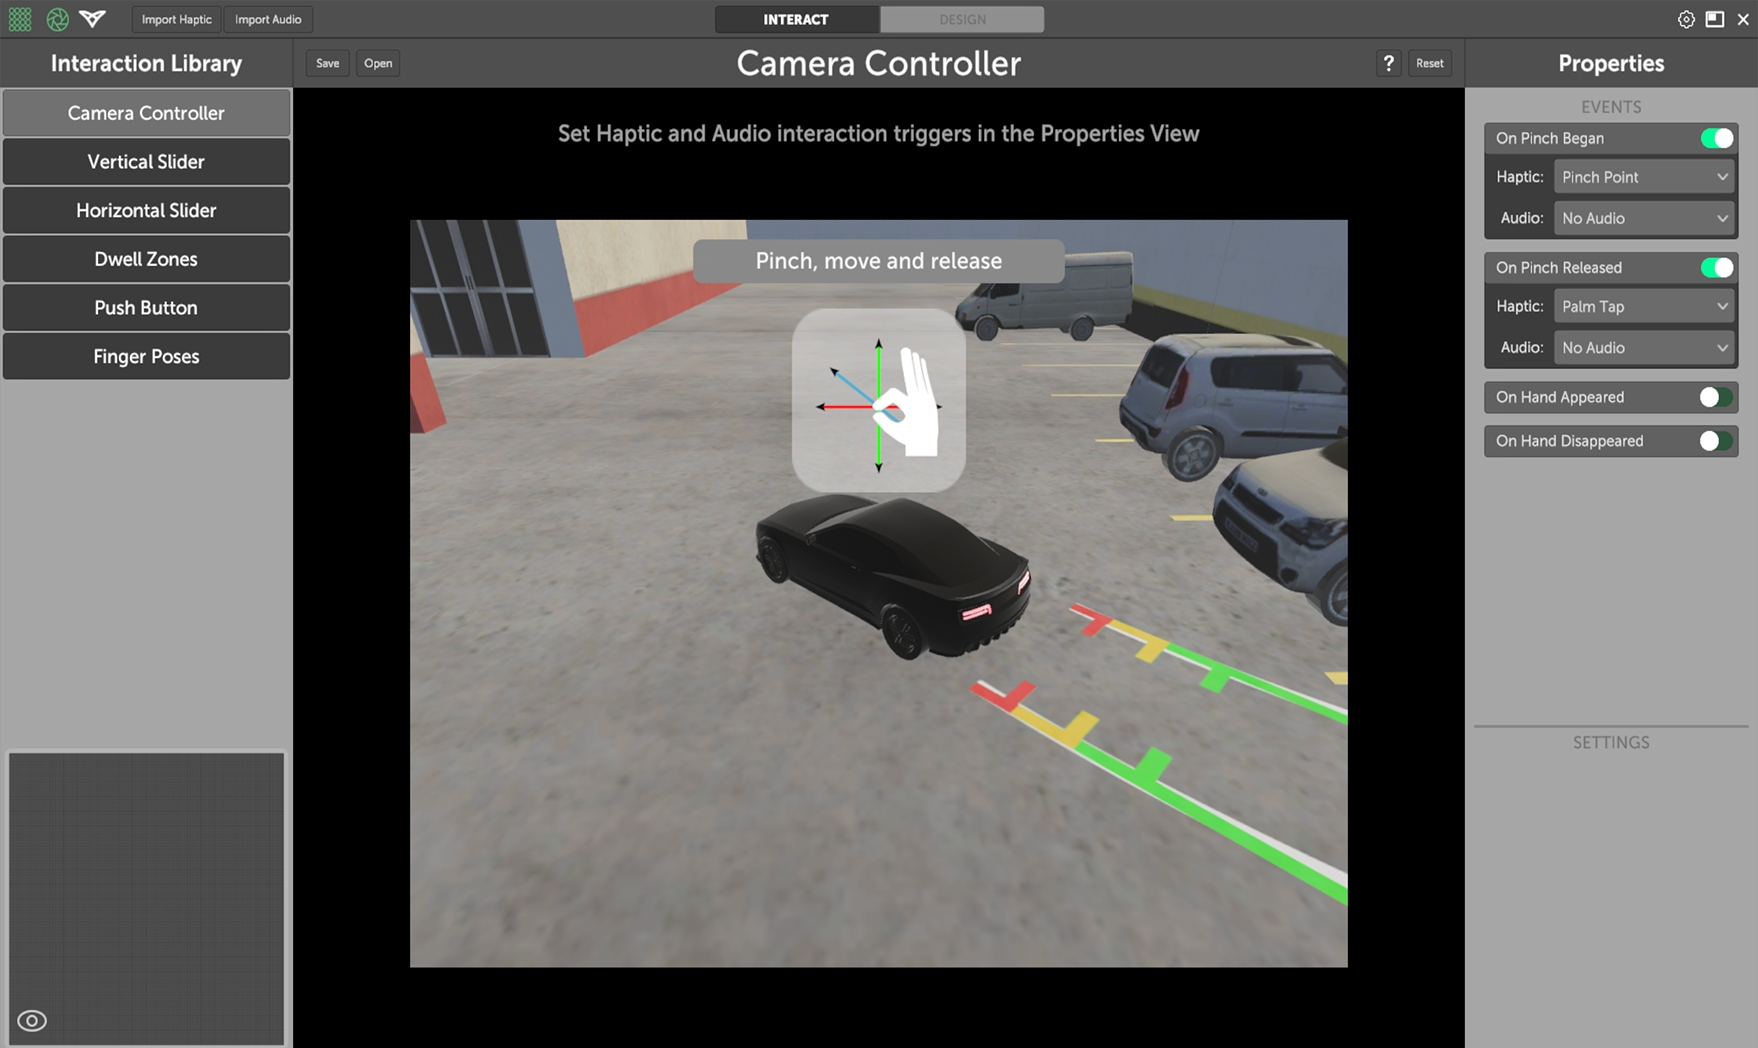
Interaction Library
The Interaction Library offers interaction design examples for reference. These examples serve as a starting point and can help you understand the different possibilities. By exploring these examples you can gain insights into designing effective mid-air haptic interactions.
Interact Properties
This panel gives you control over various design parameters for creating custom haptic interactions. This panel allows you to augment each steps of the interaction with haptic sensations and audio feedback. You can create and tweak haptic sensations in the design view of the Sensation Designer.
Saving Interactions
Interact view supports saving your interaction designs, storing parameter values in a JSON file format. This allows you to preserve your designs and easily share them with others.
–
‘Design’ View
The Design View provides more granular control over haptic sensations and includes 3 key elements
Canvas:
The canvas provides a visual workspace where you can design custom haptic sensations.
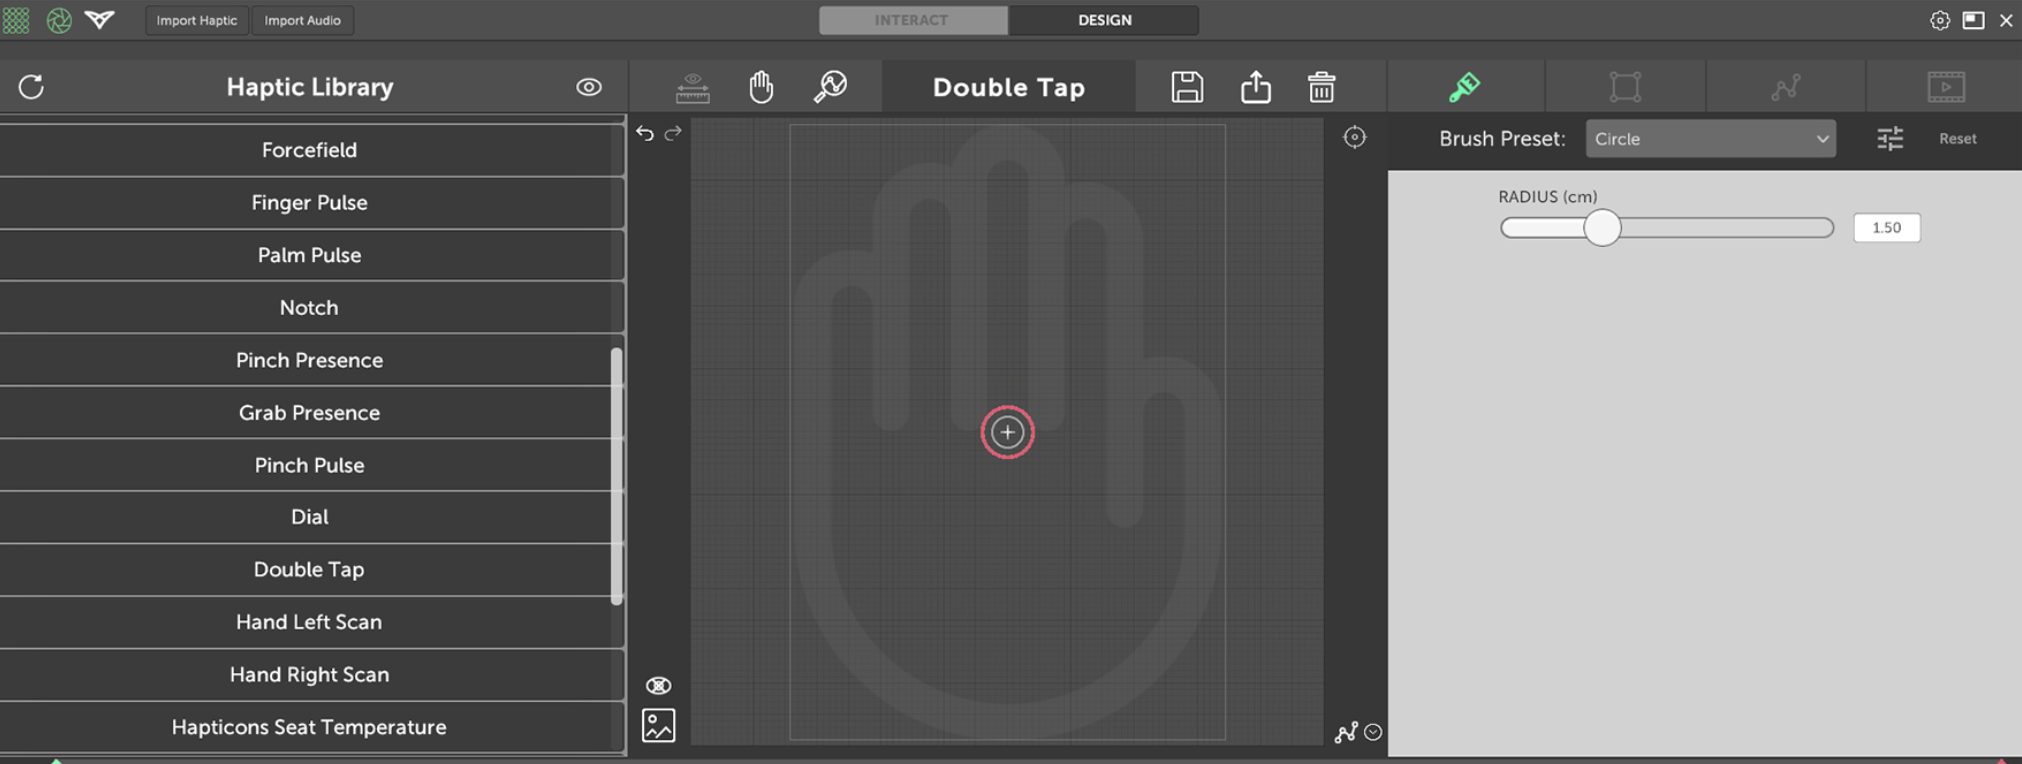
Timeline:
The timeline allows you to define the duration of the pattern, as well as its intensity and motion over time. These can further be tweaked by overlaying with the audio waveform.

Design Tools:
The Design Tools allow you to adjust the shape, size, position, and intensity of the haptic brush.
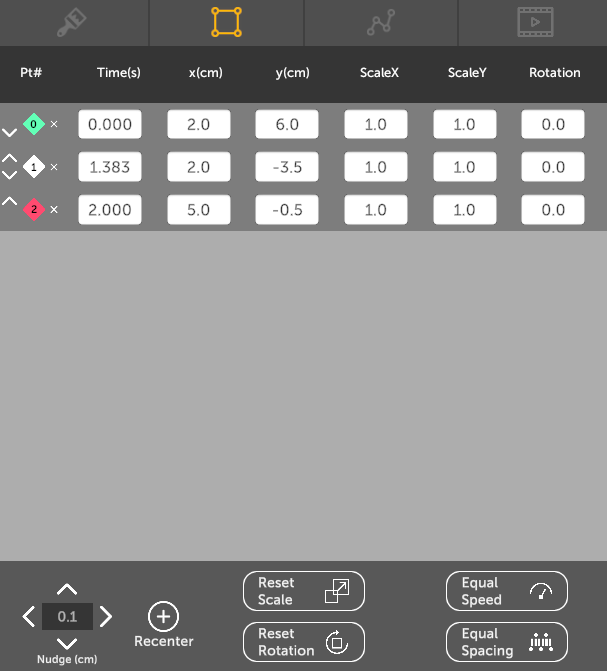
Brush panel: The brush is the core element of a haptic sensation. In this panel you can chose between static brushes (circle, line) or dynamic brushes (dial, rotor) and adjust their parameters (size, speed).
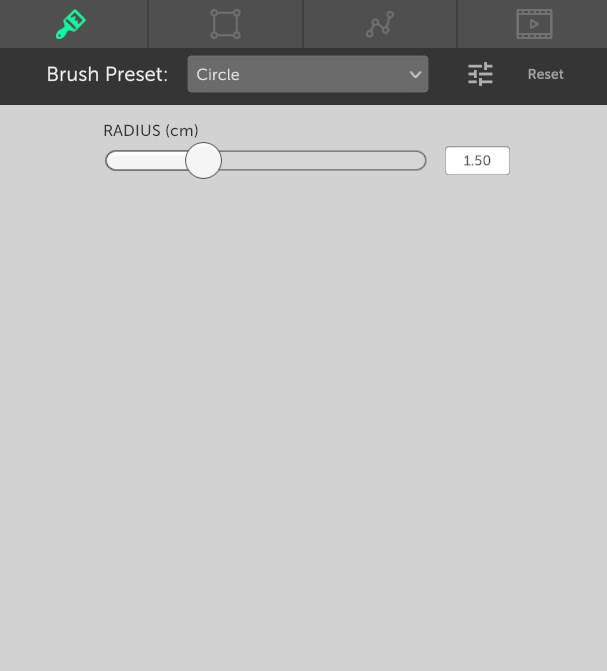
Node panel: A haptic sensation is characterised by the haptic brush motion over time. In this panel, you can precisely control the position and size of the brush at each key instant. The values set in this panel are reflected on the canvas and timeline
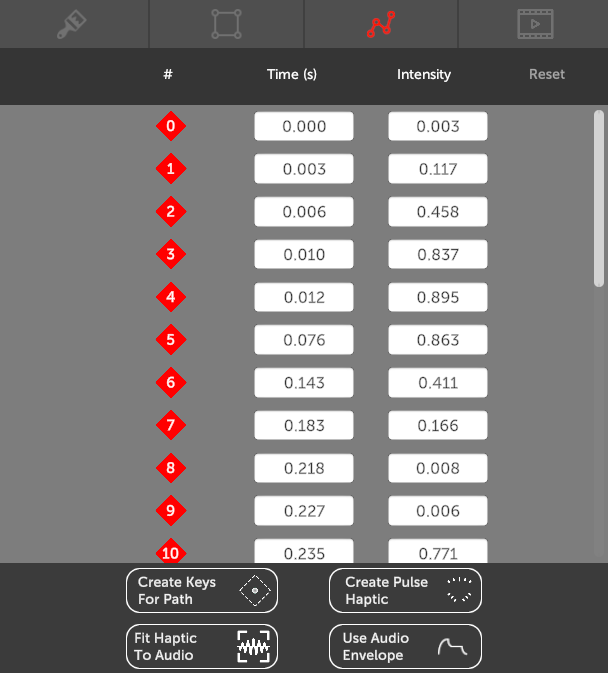
Intensity panel: The brush intensity (how strong it is perceived) can add an additional expressivity element to your haptic sensation. In this panel you can accurately set what the brush intensity will be at each key instant. The values set in this panel are reflected on the timeline.
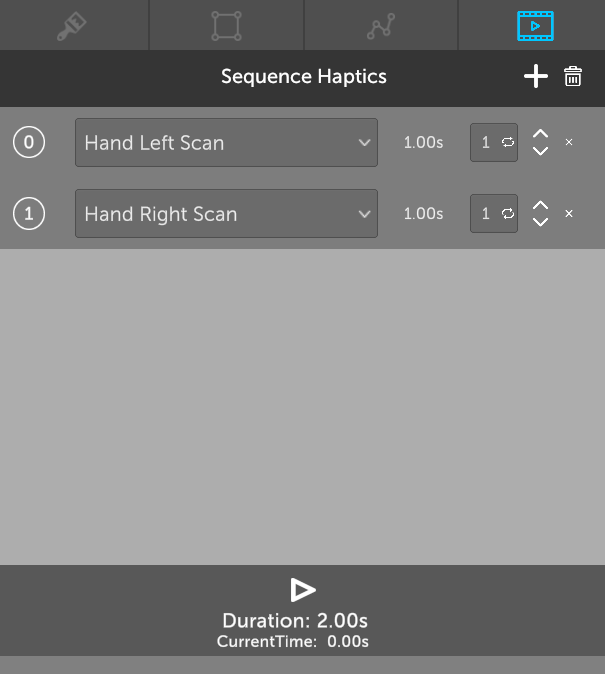
Sequence panel: The sequence panel enables users to seamlessly connect and chain together two or more haptic sensations. This feature empowers users to generate more complex and captivating sensations.
How to create your own sensation
Step 1
Let’s create a new sensation and call it thermometer. It will use a line brush, which represents the temperature level.
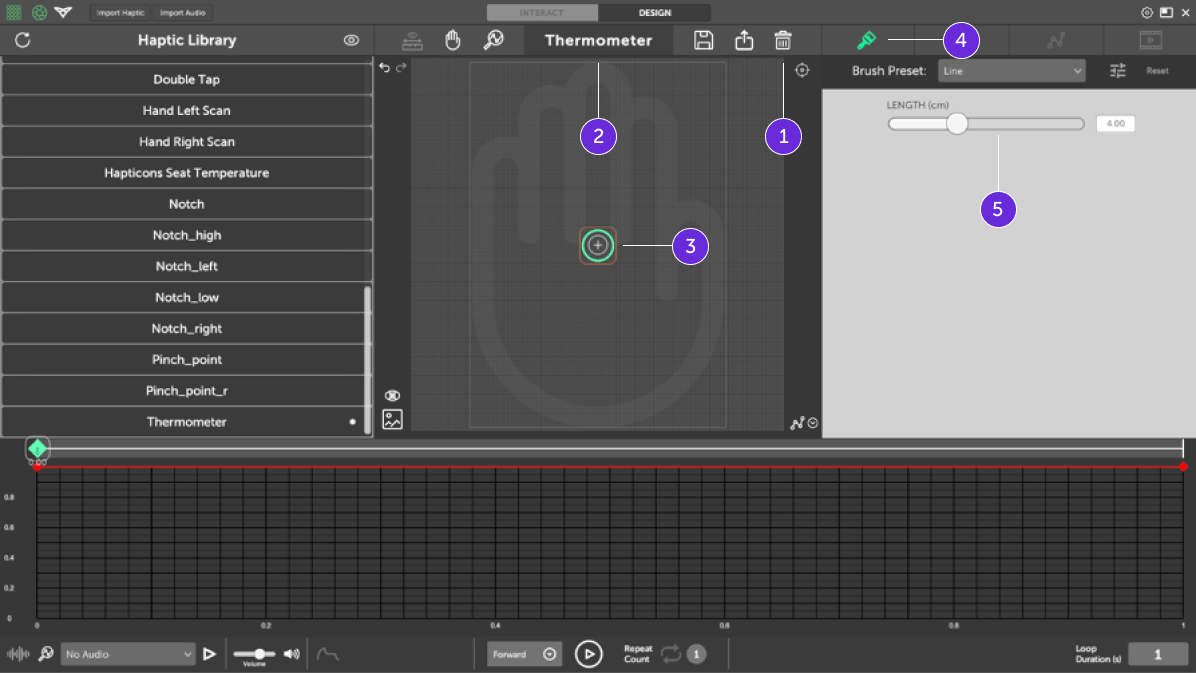
Click the bin to remove existing content and start a new design
Rename your sensation “Thermometer”
Place a node by left-clicking the middle of the canvas
Go into the brush panel
Select a ‘line’ brush preset and set the length to 4cm
Step 2
Let’s create a path which moves our brush up, then down past the starting point before heading back up again to that same point.
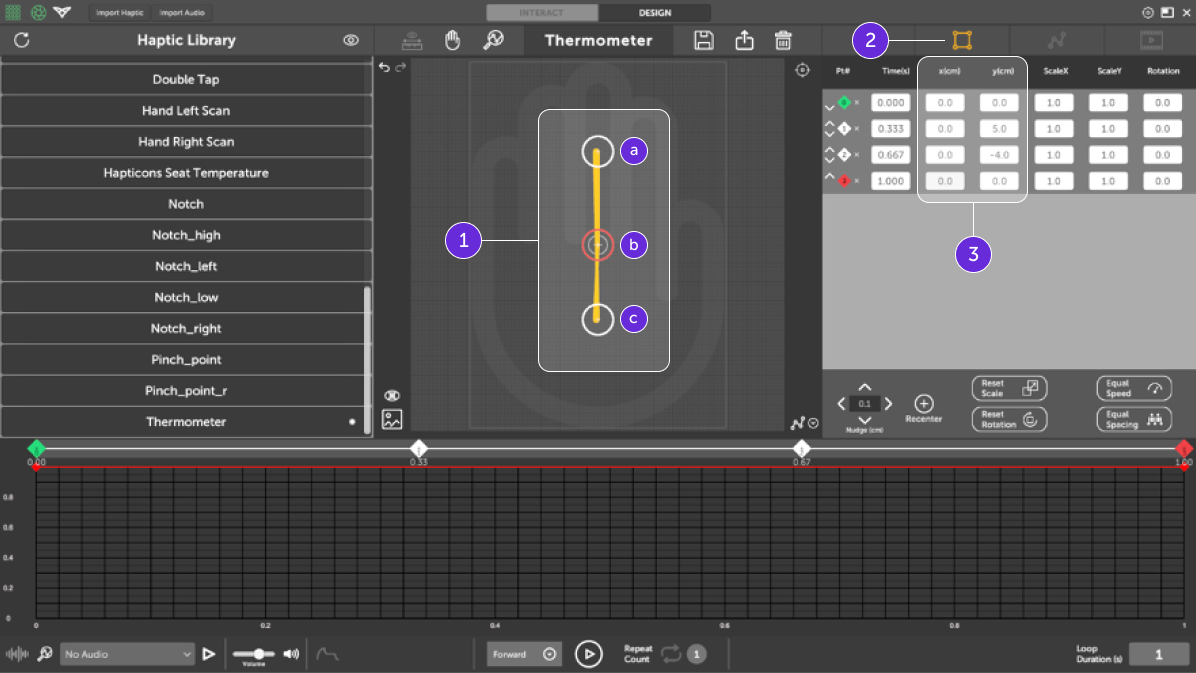
Using left click, place node (a), (b) and (c) on the canvas. These describe the brush motion
Select the spatial node panel
Refine the position of the nodes using the table
Step 3
Let’s anchor the sensation to the index finger, so we ensure the haptics sensation is always targeting the appropriate part of the hand.
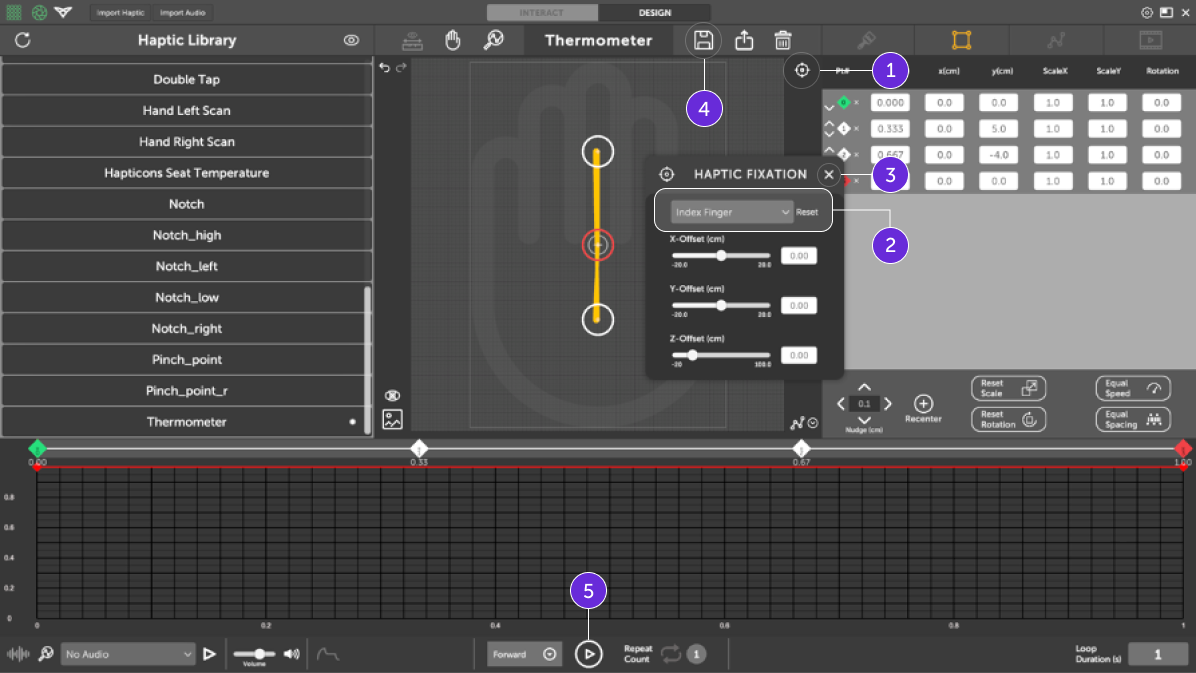
Click on the target icon to open the haptic fixation pop-up window
Select index finger so the haptics move along the index finger
Close the haptic fixation pop-up window
Save your design. It will automatically be added the haptic library on the left
Press play to experience your newly designed thermometer hapticon
Feedback and support
Join our community on Discord or get in touch via our contact us form.