Multiple Tracking Devices
Using multiple tracking devices can allow you to increase the hand trackable area in your physical space. You can also track multiple sets of hands independently for local multi-user applications.
Using multiple devices to produce one set of hands requires the use of aggregating or combining multiple sets of tracked data, this page will cover how to set up multiple devices as well as how to begin aggregating that data.
Note
This is an advanced tutorial which assumes you have: both the tracking package and preview tracking package installed; have finished the Your First Project Guide; and have an understanding of the Scripting Fundamentals.
This feature is currently in preview so it may change in future versions of the plugin.
What is Aggregation?
If you want to expand your tracking field, or get more accurate hand poses, you can set up multiple tracking cameras. The cameras can either have overlapping fields of view (more accurate hand poses) or be set up so that their fields of view are side by side (expand the tracking field).
In both cases, each of the cameras sees your hands separately. If the tracking fields overlap, you could see two sets of hands at the same time (e.g. in the Tracking Multiple Sets of Hands tab).
Aggregation allows you to combine two or more sets of hands into one set of hands by combining their positions and orientations, as well as their individual joint positions.
There are two aggregation providers available in the Tracking Preview package (AggregationProviderConfidenceInterpolation.cs and AggregationProviderAngularInterpolation.cs). The following steps show how to set up a scene in Unity using one of them.
Getting Started
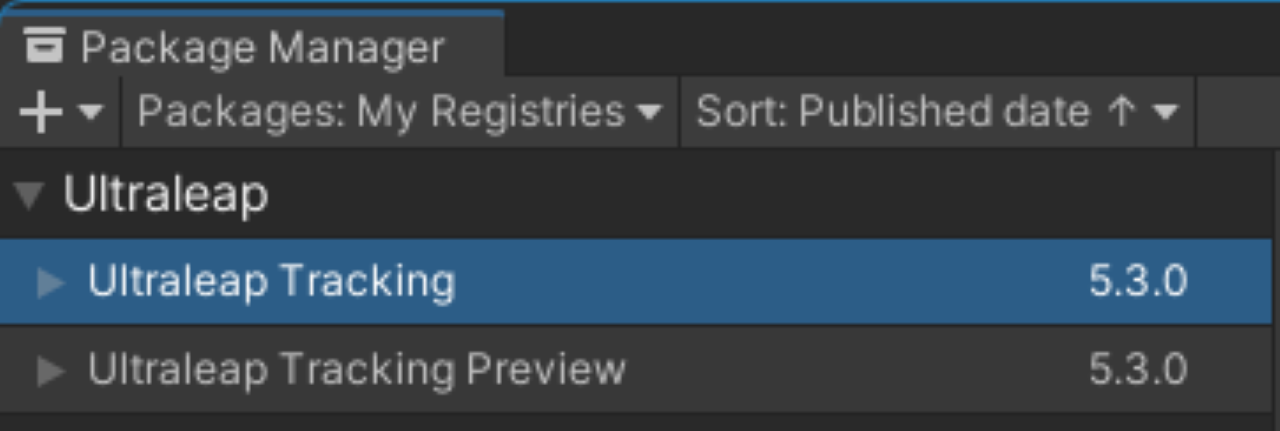
Make sure that you have installed both the Tracking and the Tracking Preview package. This can be done through the :ref: package manager <https://docs.unity3d.com/Manual/upm-ui.html>.
Connect multiple tracking devices to your computer (note that when using a USB hub, you should consider using USB-3 cables).
Create a new Scene and add one
LeapXRServiceProviderfor each of your connected devices.
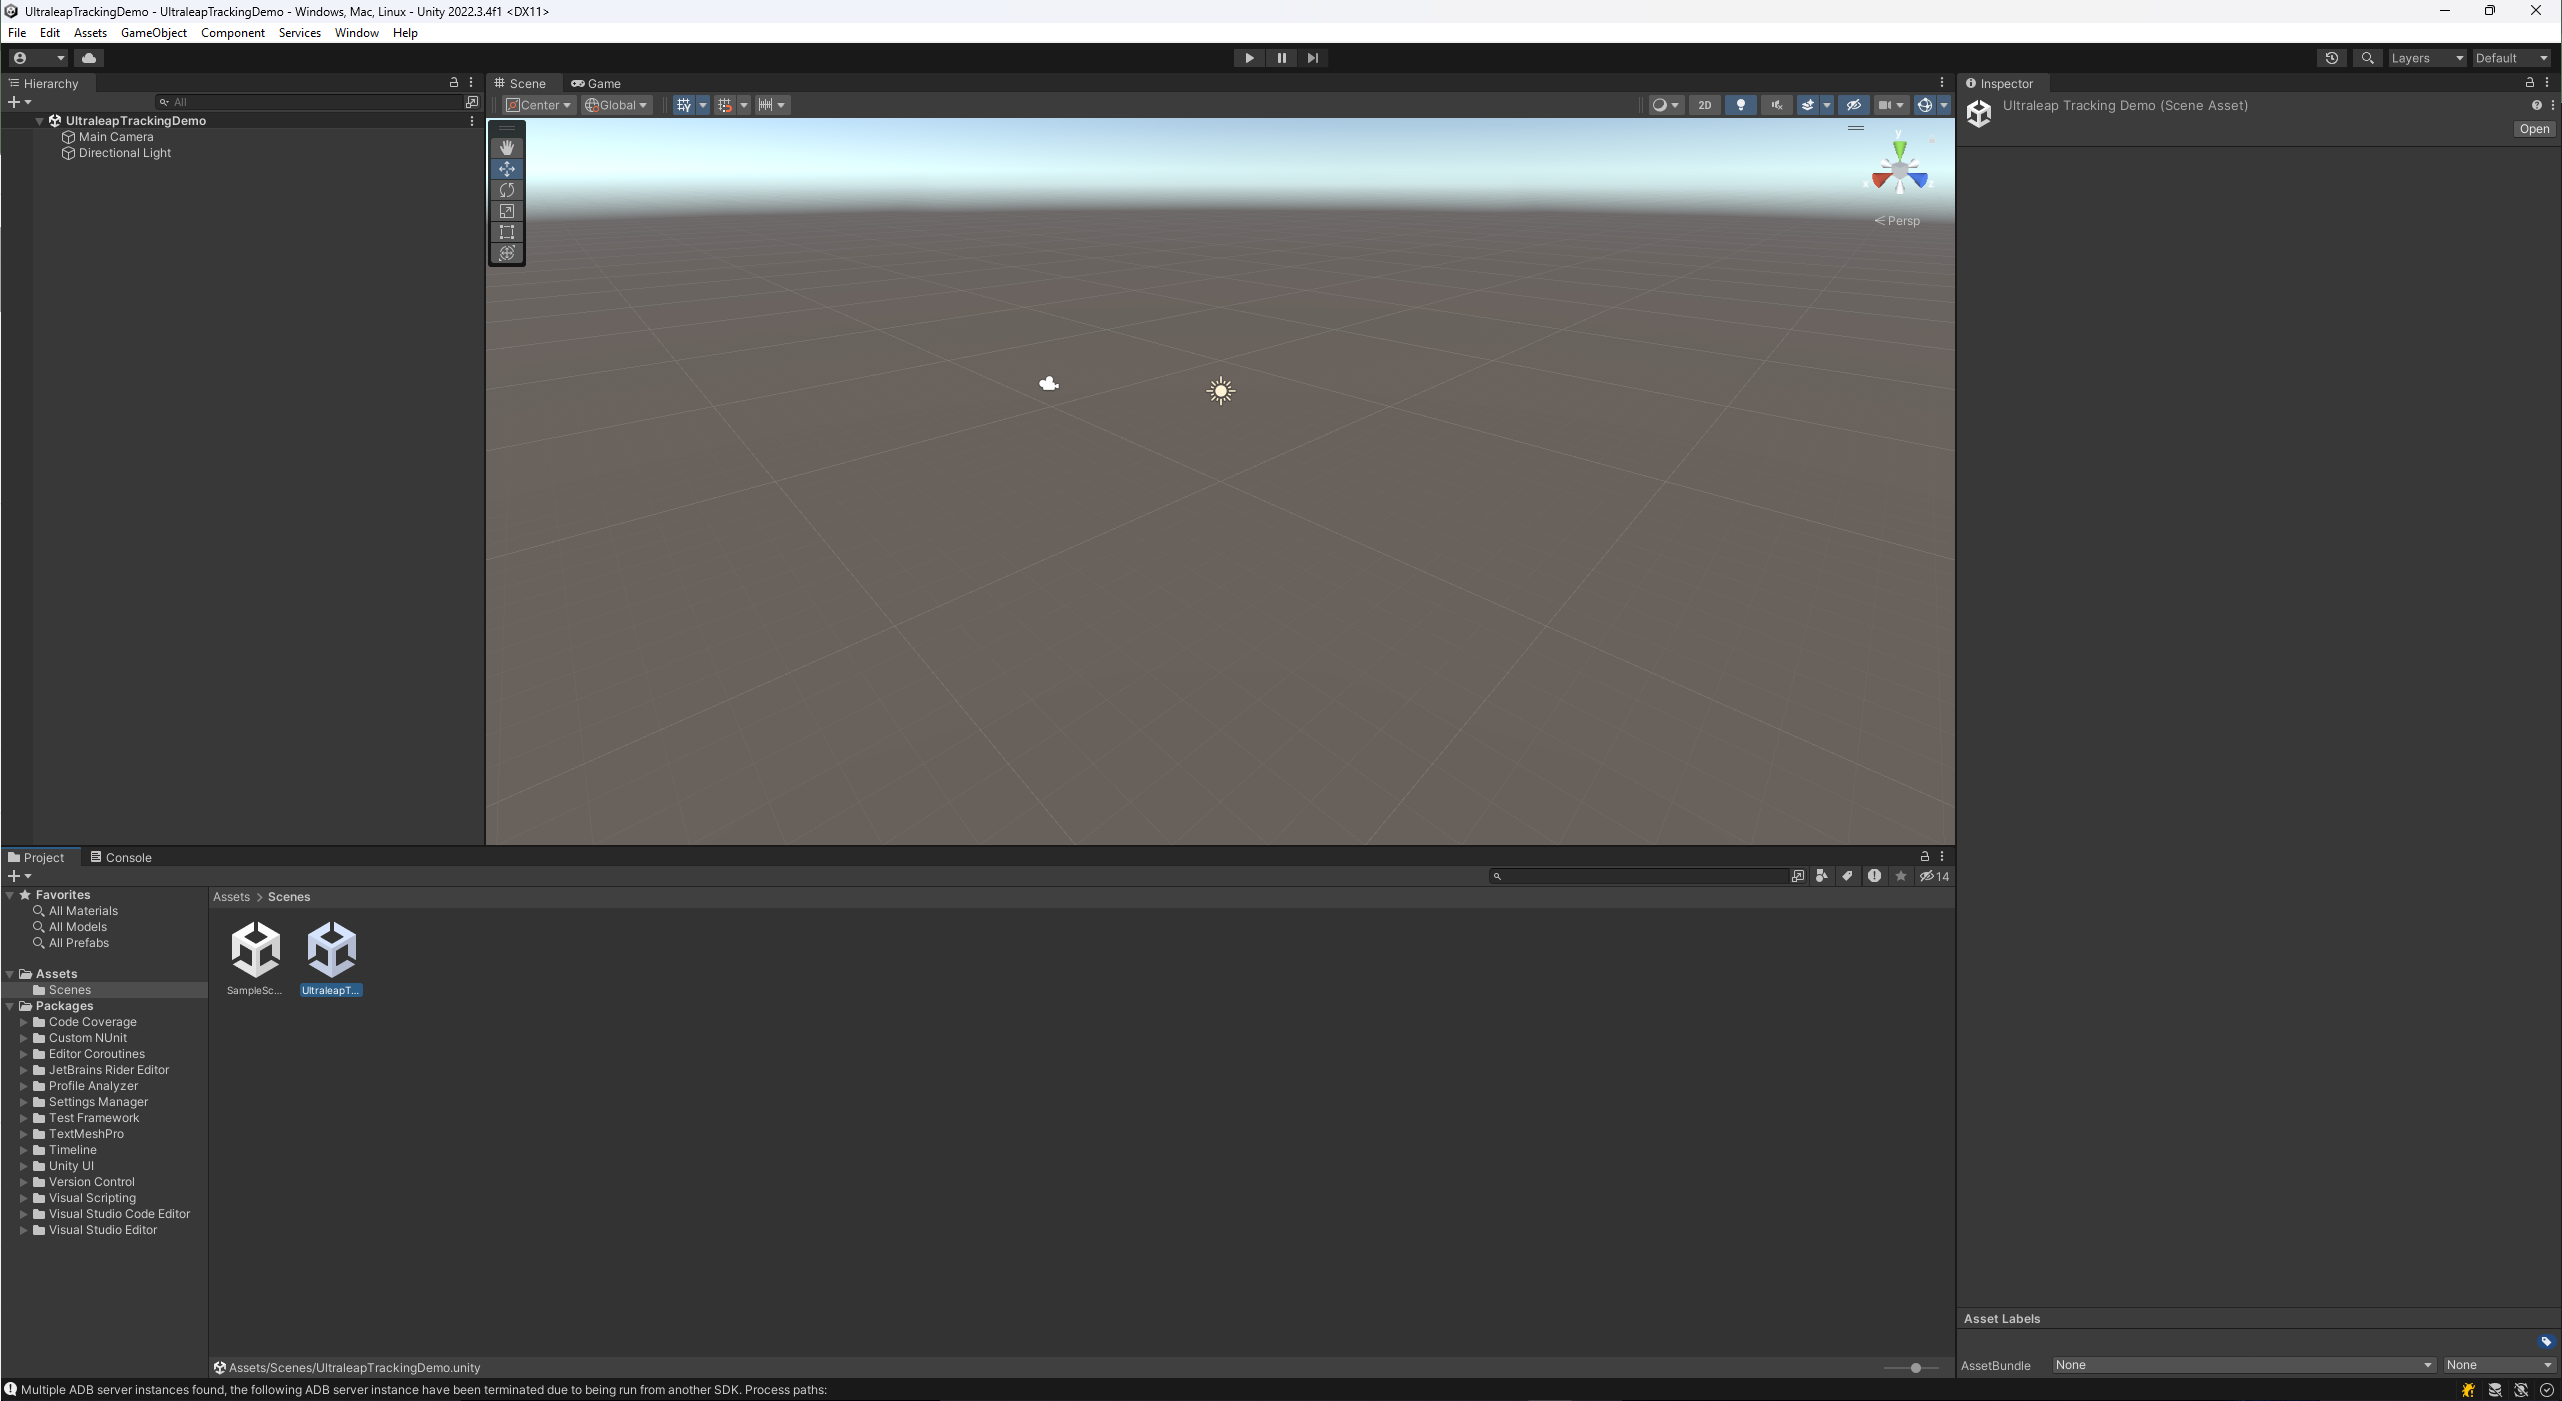
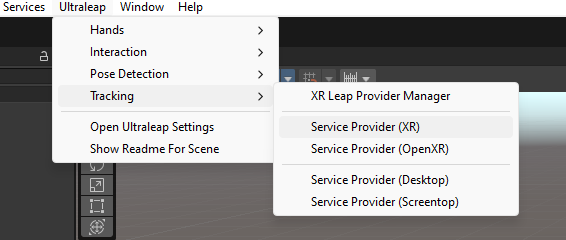
Move the Service Providers to the approximate positions that the tracking cameras have in the real world (e.g. if you are setting up two devices in desktop mode and they are 30 cm apart in X-direction, set the first Service Provider’s position to (0,0,0) and the second one’s to (0.3, 0, 0)).
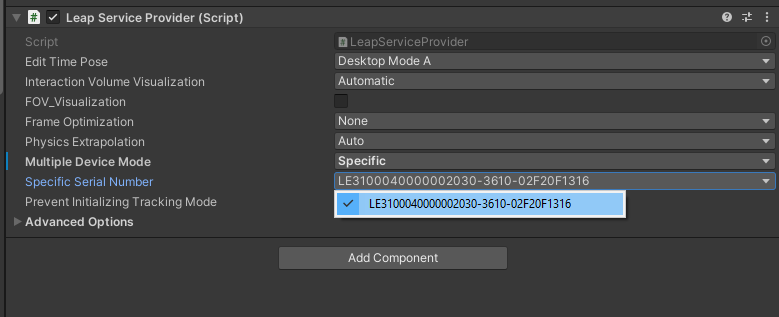
On each
ServiceProvider, set Multiple Device Mode to Specific and choose the corresponding Specific Serial Number from the drop down.
Add a new empty GameObject and add the script
AggregationProviderConfidenceInterpolation.csas a component.On the Aggregation script component, assign all Service Providers that you want to use for aggregation to the Providers field.
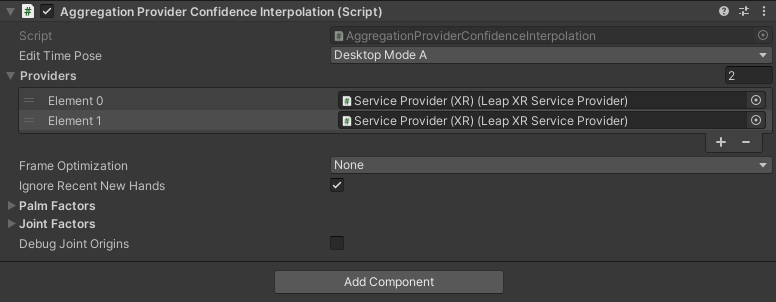
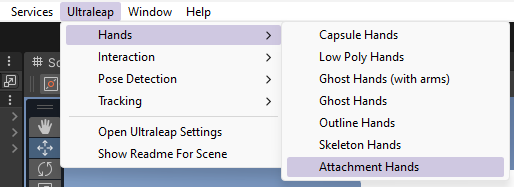
Add hands to the scene (e.g. Capsule Hands) and assign the Aggregation Provider as the Leap Provider on each hand.
Hit play and see the combined hands.
How Does Aggregation Work?
Aggregation combines several hands by first identifying and sorting them by right and left hands, determining a confidence value for each hand and its joints, then interpolating the hands and joints based on their confidence values.
Sorting Hands
The first step is to sort all seen hands from all tracking cameras, so that we end up aggregating the correct hands. We want to combine all left hands into one aggregated left hand, and all right hands into one aggregated right one.
Determining Confidence Values
Confidence values represent how likely it is that the hand data coming from a tracking camera matches the true real world hand’s data. So for example, if you were to look at a virtual hand that follows the tracking data in a AR or MR setting, we would expect a high confidence when the virtual hand lines up perfectly with the real hand. However, when the hand position or orientation doesn’t align or any fingers or bones are different, we would expect a low confidence.
To make this a bit simpler, we differentiate between a whole-hand confidence, that takes the overall hand position and rotation into account and a per-joint confidence that takes each joint’s relative position and rotations into account.
To obtain a confidence value, we looked at scenarios where we already know that the tracking quality generally gets less accurate or less reliable. Such scenarios include for example:
Hands that are very close to the edge of the optimal field of view of a camera.
Hands that have their palm pointing sideways, so that the camera only sees a ‘line’ of fingers in the worst case.
Joints that are not visible from the camera. For example, joints can be hidden behind the palm when making a fist.
Interpolating Hands and Joints
Once we have per-hand and per-joint confidence data, these confidences can be used to combine the hands. They are combined by first interpolating their positions and orientations in world space and then interpolating every joint position relative to their hand position and orientation.
The interpolation happens using the confidences as weights. So if for example one of the right hands in the list of right hands has a confidence of zero and another right hand has a confidence of one, the resulting aggregated right hand would be in exactly the same position and rotation as the second hand. If, however, both right hands had exactly the same confidence, then the resulting aggregated right hand would be exactly in the middle of the two hands and its orientation would be the average between the two hands’ orientations.
Using the Aggregation Options
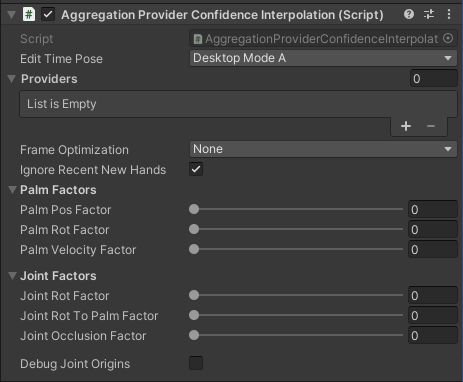
The Aggregation Script has a lot of options for fine-tuning the confidence calculations:
Note
This page assumes you have finished the Your First Project Guide. As well as have an understanding of the Scripting Fundamentals.
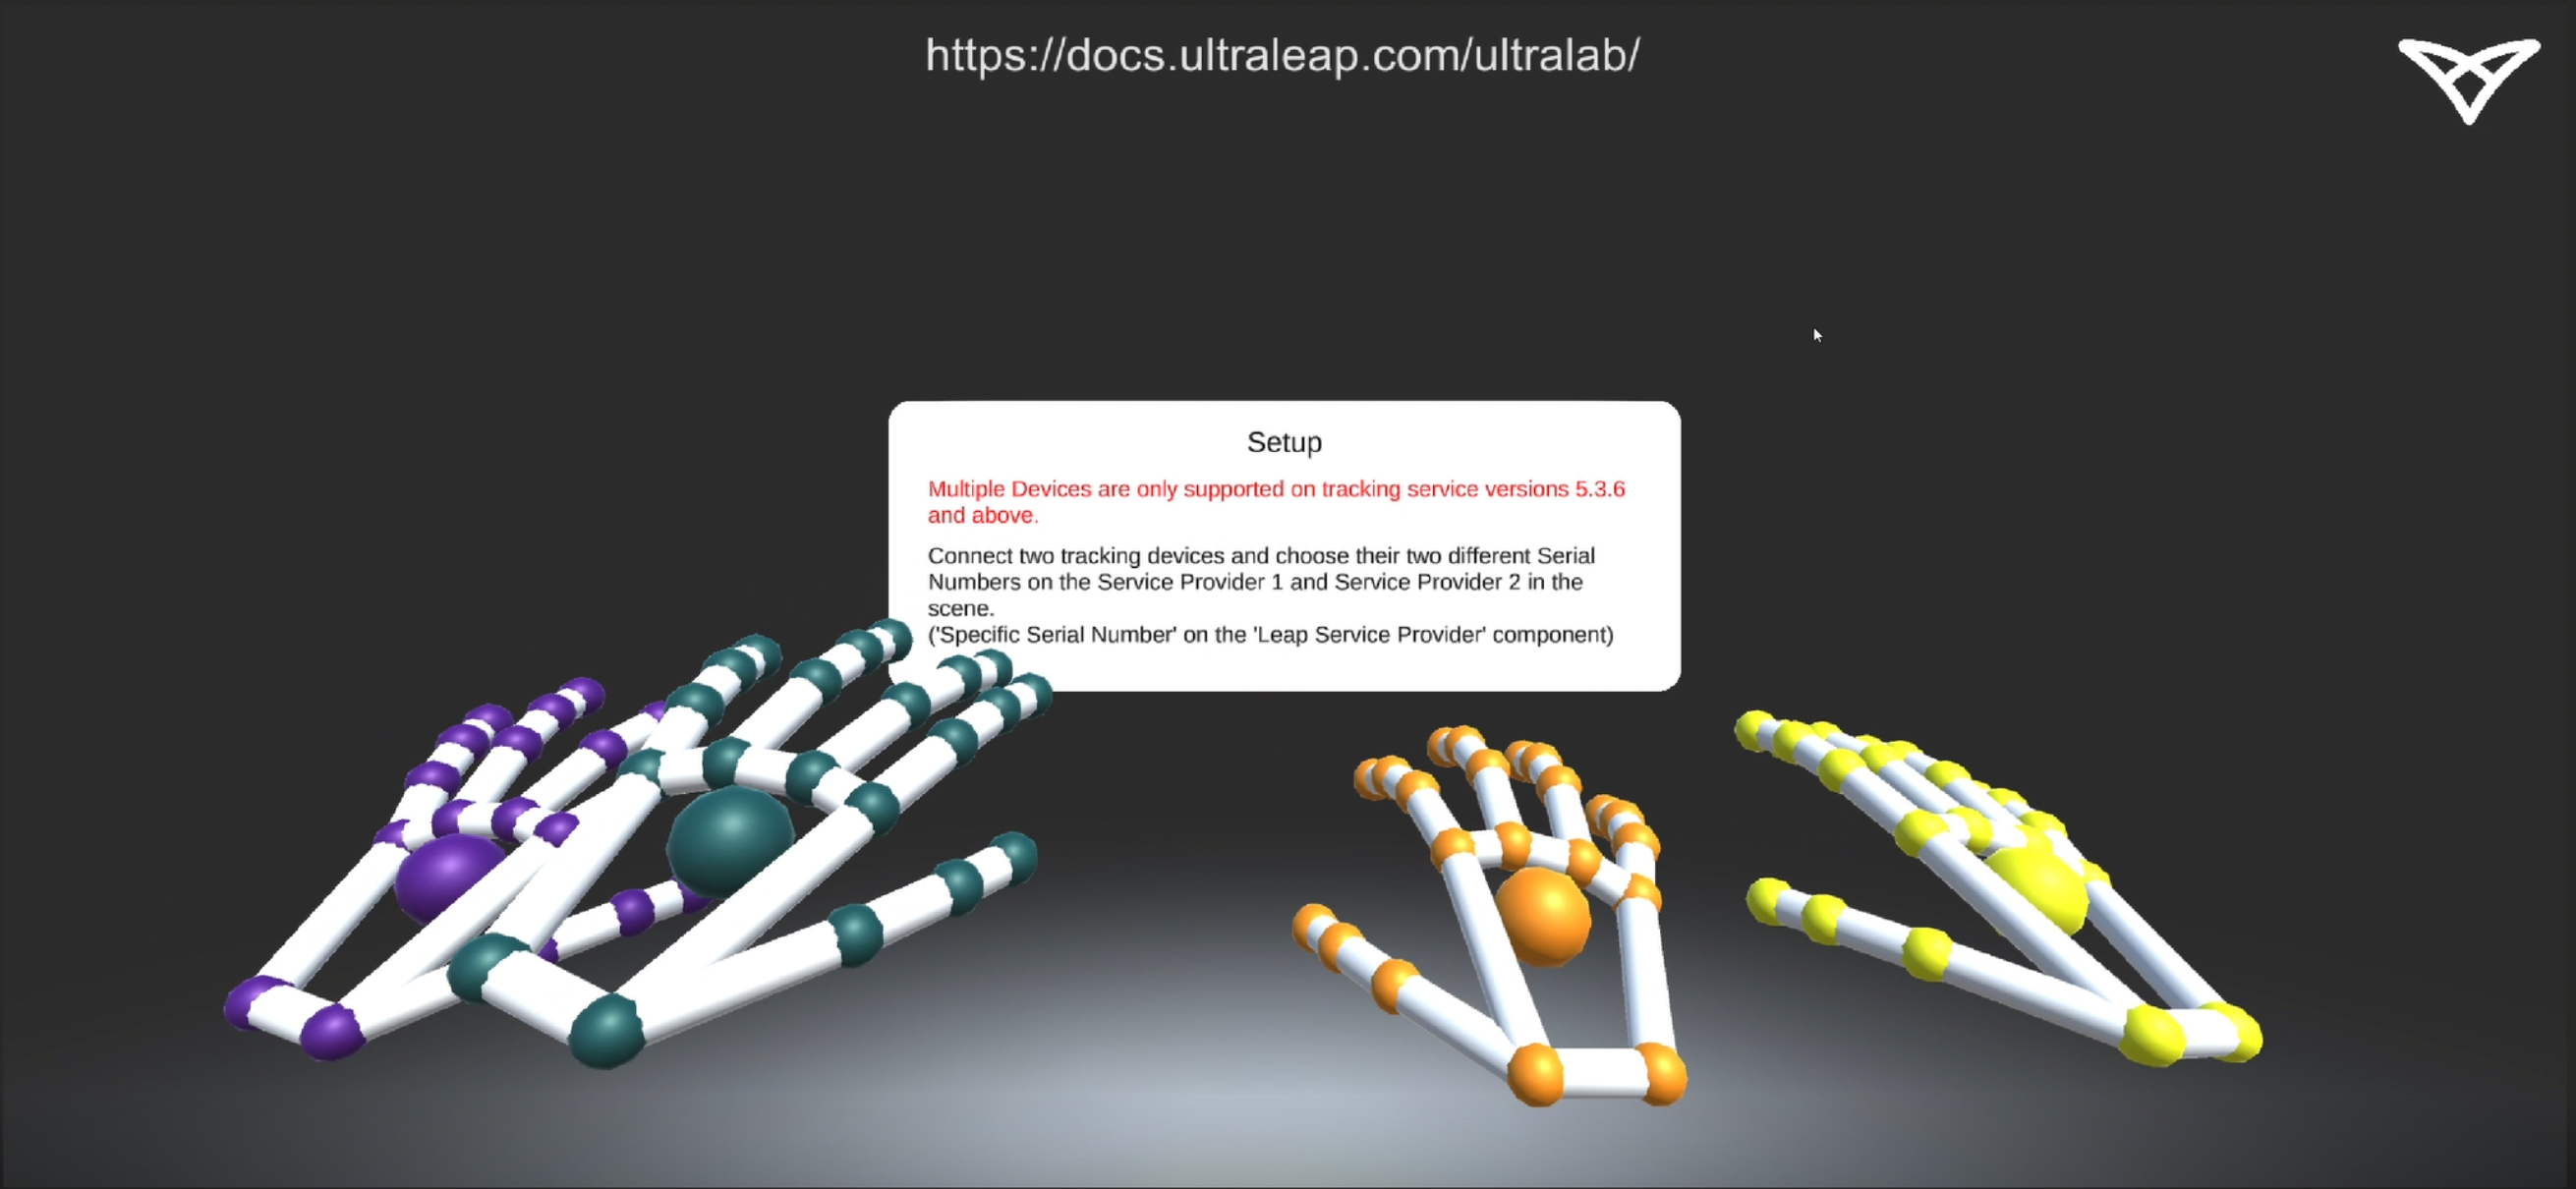
This section will discuss how to set up a scene with multiple devices referenced.
A non-XR example scene is available here: Assets > Samples > Ultraleap Tracking > x.x.x > Tabletop Examples > 4. Multiple Devices (Desktop).
Add one
LeapServiceProviderto your scene for each tracking device you intend to use. The tracking mode of these should relate to the position. These can be added from the toolbar, found inUltraleap > Tracking.
When using a tracking device in head mounted mode, use a
LeapXRServiceProvider.
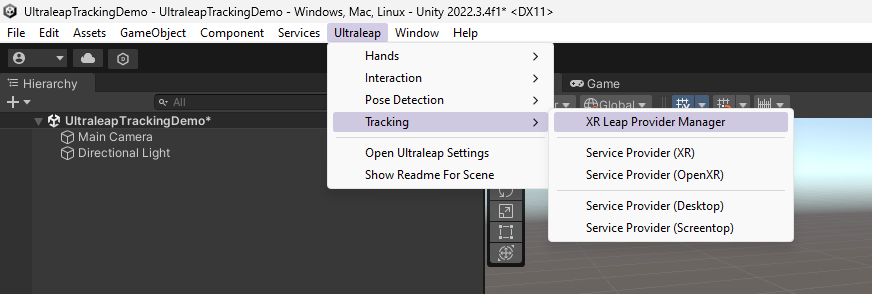
Add hand models to your scene for each Provider. These can be added from the toolbar, found in
Ultraleap > Hands.

Assign each pair of hands a specific
LeapServiceProvider. This will allow each tracking device to control a specific pair of hand models.Select each
LeapServiceProviderone at a time and set the Multiple Device Mode to Specific and set the Serial Number of each device to their respectiveLeapServiceProvider.
Use the Ultraleap Control Panel to easily identify which serial number relates to each device.

After doing this, you should have multiple hands in your scene which are offset depending on where each device is. This is great for local multi user.
If you want to learn how to aggregate these devices for more accurate tracking or a wider field of view, check out the Tracking One Set of Hands tab.