How To Install and Configure TouchFree on the BrightSign XC5 and XT1144 Media Players
Overview
This guide provides information on how to set up and configure Ultraleap’s TouchFree solution on a BrightSign XC5 series and XT1144 media player, so you can add touchless interactivity to your presentations.
System requirements
Ultraleap 3Di Out of Home Camera or Ultraleap Stereo IR 170 Camera
Ultraleap TouchFree Extension for BrightSign
- BrightSign XC5 series and XT1144 Media Player
BrightOS version: 9.0.67 (XC5 series), 8.4.14* (XT1144)
Available USB 2.0 port
Micro SD card
BrightSign WiFi modules (WD-103 or WD-104) must not be installed*
Mains power must be connected*
Warning
- Ultraleap TouchFree for BrightSign will not currently function correctly if:
Either WD-103 or WD-104 BrightSign WiFi modules are installed inside the media player.
The mains power adapter is not connected.
BrightOS 8.5.31 or later is installed on an XT4 series box.
Note
The Leap Motion Controller is not supported
Installation
The TouchFree extension is supplied as a firmware update for the BrightSign XC5 and XT4 media players, which can be installed using BrightAuthor:connected or BrightAuthor 5. The firmware update is supplied as a single file with a .BSFW extension and should be available within the supplied package alongside this guide and other supporting files.
TouchFree Configuration
TouchFree needs to be configured prior to first use so that your hand movements accurately translate to input to your application and provide the best user experience. TouchFree provides a Settings UI, which you can access on the BrightSign player, to interactively setup your device.
The TouchFree Settings UI
The Settings UI is hosted by the TouchFree extension and can be accessed as interactive content through an HTML widget. This UI provides information on the status of the TouchFree Service and the Ultraleap tracking camera, as well as allowing you to configure the physical camera setup and interactions. The UI also provides diagnostic screens that can assist with troubleshooting.
A TouchFree cursor is shown on the Settings UI, which you can use to test your configuration, however for first time setup a mouse is required to select the calibration options. A keyboard is required if editing text fields.
Loading the Settings UI
Copy the autorun script, found in the ‘TouchFree Settings UI autorun file’ folder, to the root of an SD card and insert into the BrightSign device to load the Settings UI. This file is configured for 1920x1080 display in portrait orientation.
Alternatively, the BrightSign presentation found in the TouchFree_Settings_BRS_Presentation.zip, which is provided as part of your TouchFree for BrightSign download, will display the Settings UI if published to an SD card or directly to a BrightSign media player. As with the autorun file above, it is configured for a 1920x1080 display in portrait orientation.
Using the Settings UI
TouchFree Status
There are two status indicators at the top of the page to help with configuring TouchFree. These indicators update every few seconds to show the current state of the system.
Icon |
Description |
|---|---|

|
The tracking camera status shows if an Ultraleap camera is connected to the device. The indicator turns red when the camera is not found. The indicator will turn green when a camera is connected to your device. |
The tracking service status indicator shows if hand tracking is active on the device. The indicator turns red if the tracking service is not found. In this case, reboot the device to restart the tracking service. |
Camera Screen
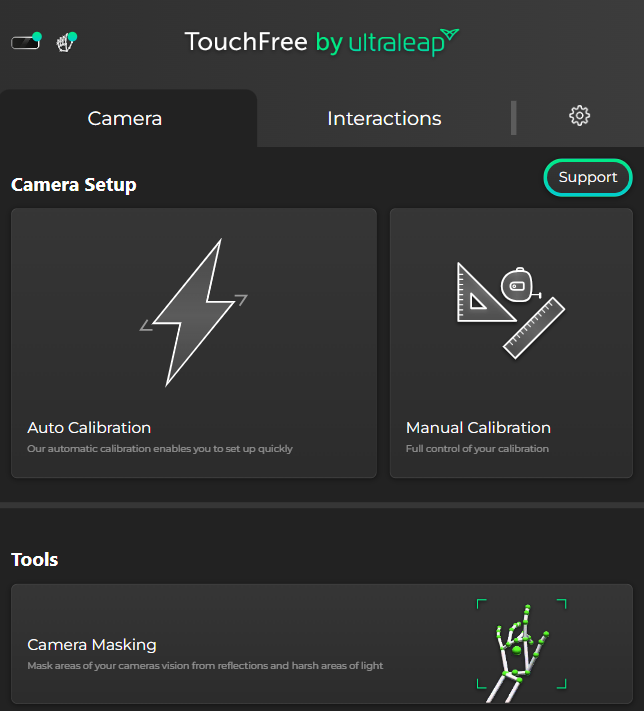
TouchFree provides both Auto Calibration and Manual Calibration functions as well as some features for troubleshooting and optimising the hand tracking performance.
Auto Calibration
The first and most important step after installing TouchFree is to configure it to match your physical camera setup. To do this select Camera tab from the main screen.
Under Camera Setup screen select Auto Calibration to go through simple steps to configure TouchFree.
1. Choose your Camera Mounting Position The first step asks you where your Ultraleap camera is positioned.

The default will be the Camera Below, but you should select the position that best matches how your camera is mounted.
2. Set the Size and Position of the Virtual Screen Next, you’ll configure the dimensions and position of your virtual TouchFree screen.
Firstly, a target will appear in the top center of the screen.
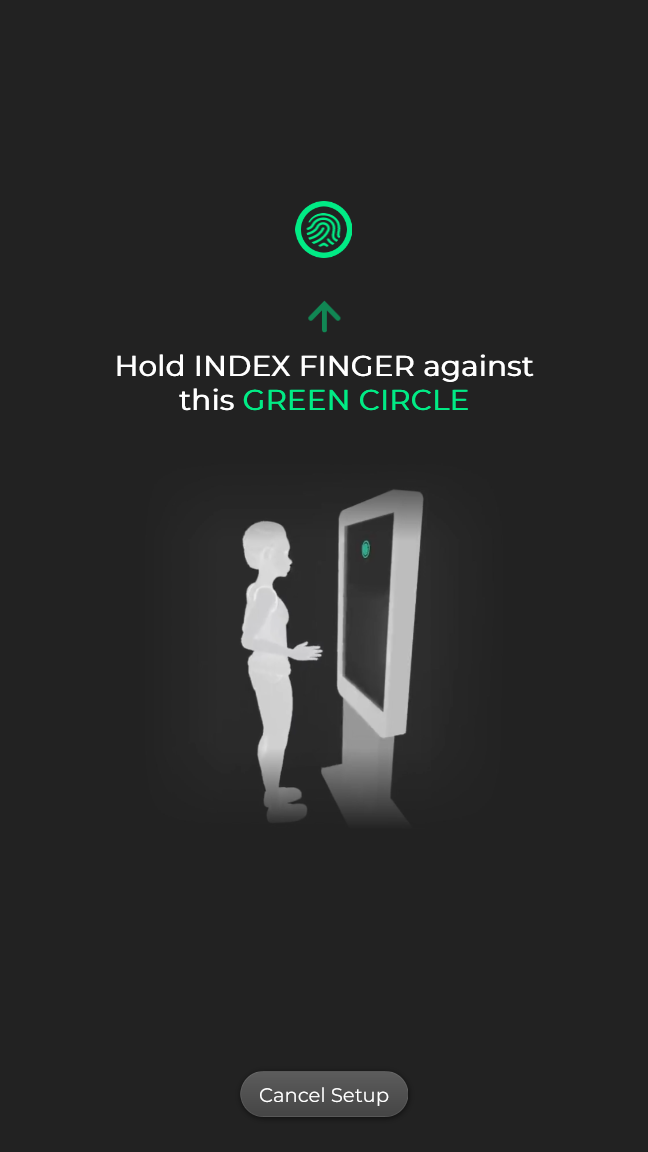
Position your finger directly over the target as shown on screen and hold it in place until the timer completes.
Tips
To increase the accuracy of the setup, it is recommended that you actually touch the screen directly on the targets. Ensure your finger remains in position until the calibration completes.
Because TouchFree uses your Ultraleap camera to measure the screen, we suggest you make sure the camera can see all of your fingers (hold your hand open like the image on the screen). This can improve the accuracy of the Quick Setup.
Next, the target will appear in the bottom centre of the screen.
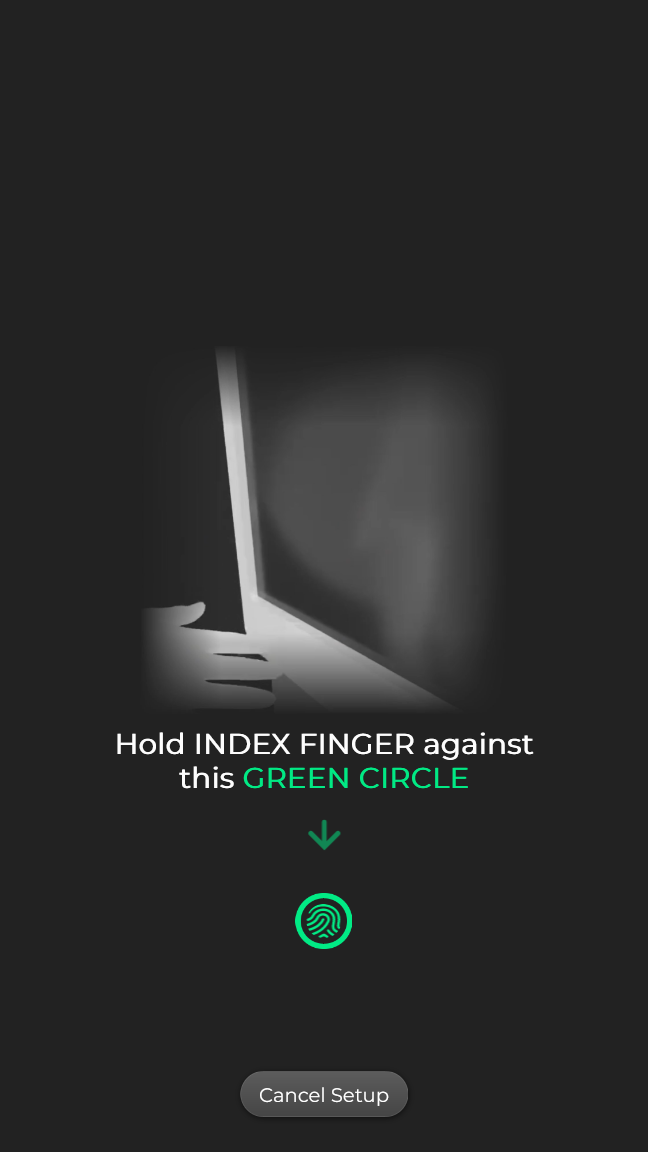
Repeat the same action as before, positioning your finger directly over the target and holding it in place until the timer completes.
This will complete your Auto Calibration, and a touchless cursor should now appear on screen. Try pressing the button labelled Practice Button Press by moving the cursor into position and pushing forward.
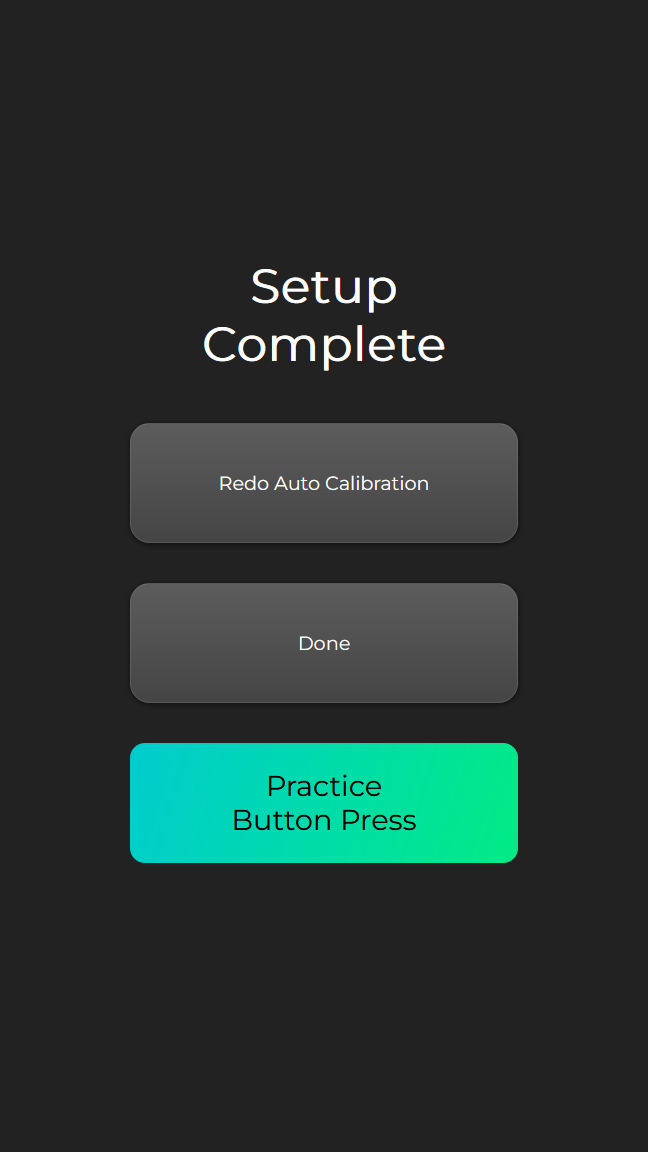
You can manually adjust the setup after this stage using Manual Calibration if required.
Manual Calibration
You can manually calibrate the system so that TouchFree knows where your camera is physically placed relative to your display. This allows the system to accurately place a cursor on the screen that tracks the position of your hand, and provides inputs to your application.
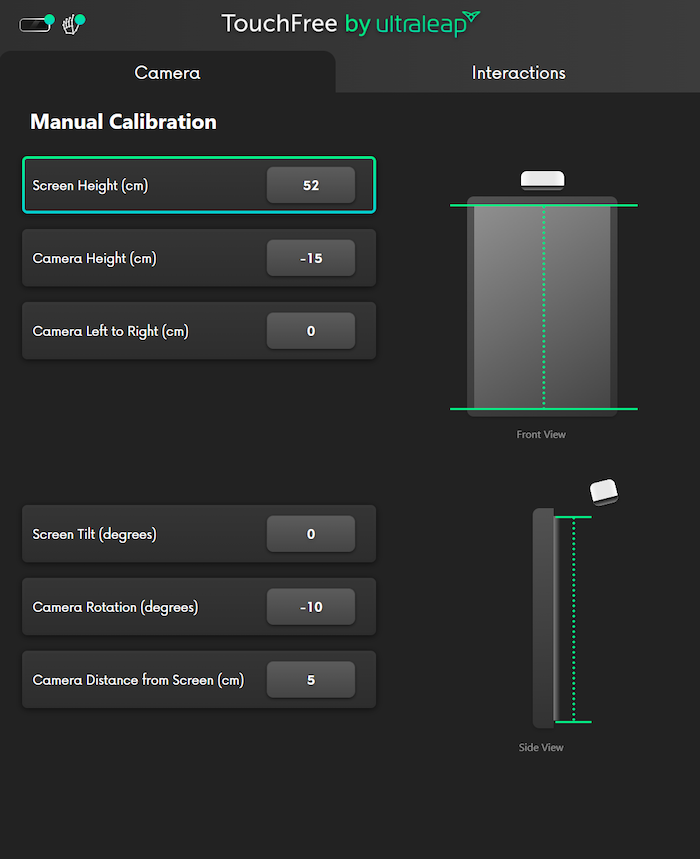
Select one of the properties of the configuration to see a diagram indicating the required measurement. Further information can be found in our guide to Camera Placement.
Camera Masking
From the main screen under Tools you can select Camera Masking to view the live camera feeds. From here you can discover problem areas and bright regions that may impact tracking performance.
This screen allows you to adjust the environment or mask problem areas using the on-screen controls.
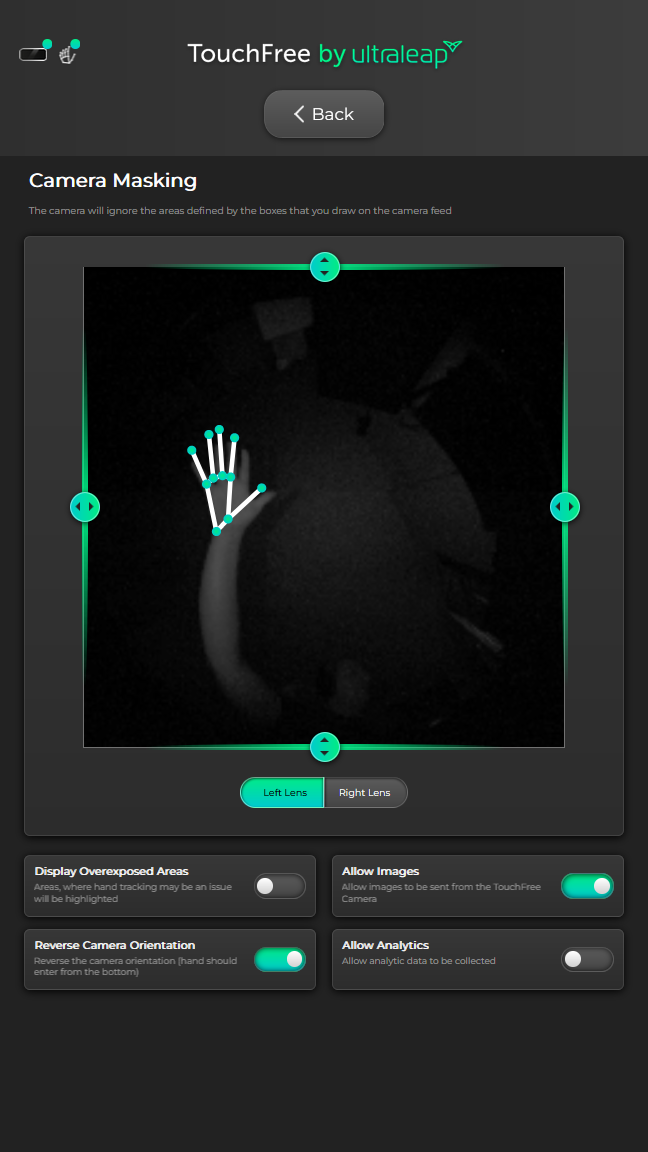
Ensuring Hands Are Tracking Correctly
The Camera Masking view overlays a representation of tracked hands onto the camera feed. This shows what the tracking data is perceiving a hand to be and can be used to ensure tracking is working as expected.
Discover Blocking/Distracting Objects
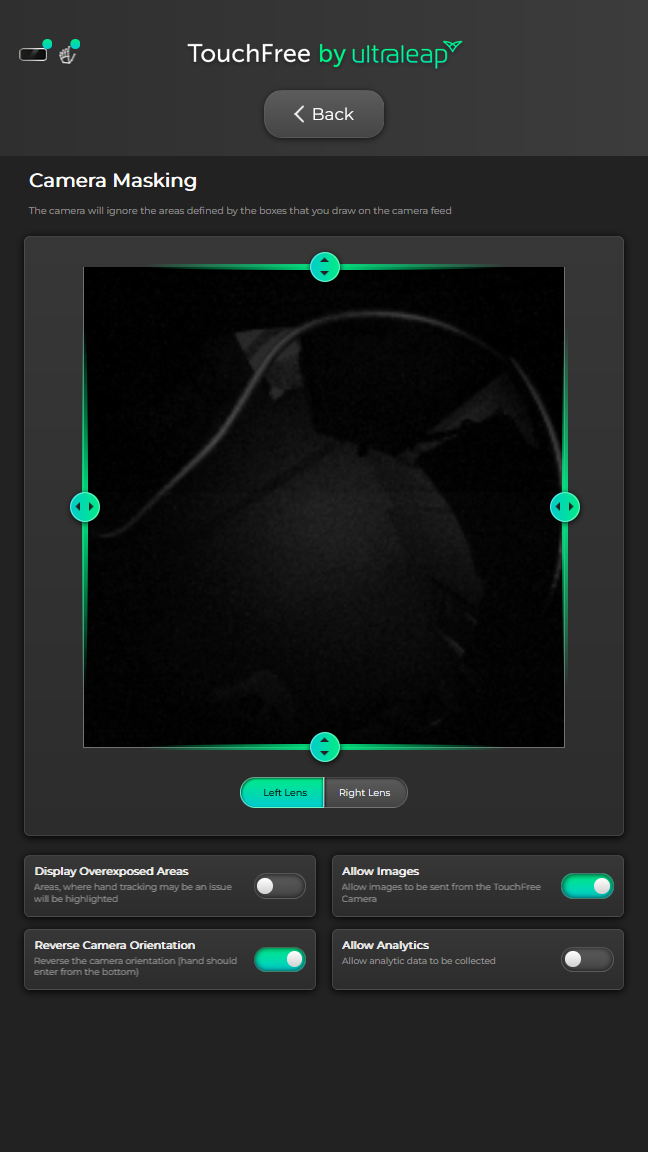
The live camera feeds provide a quick way to ensure there are no objects blocking or distracting the camera. Look out for objects in the foreground that may block the cameras view from seeing hands in the desired interaction area.
For example, the cable in this image could cause issues with tracking at the edges.
Display Overexposed Areas
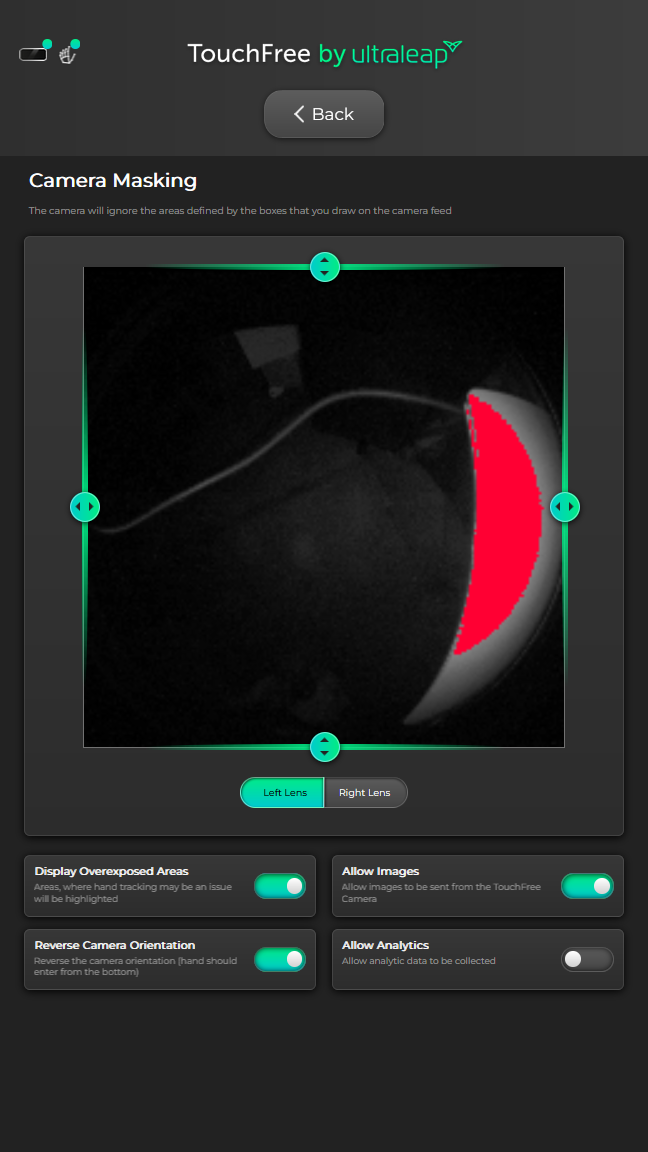
Enabling Display Overexposed Areas will show you any areas that are especially bright. The bright regions are highlighted in red. These may cause issues for the tracking if these bright regions are not the user’s hands.
If it is not possible to move problem objects, it may be possible to mask them using the on-screen sliders.
Camera Masking
The Camera Masking screen allows you to adjust the area of the environment within which the tracking will detect hands.
To do so, you can move the sliders on the Masking view to block areas near the edges of the view. This removes these areas from the tracking region so should be done as little as possible to produce the best results. You can see in the example below we’ve masked out the overexposed area from the above image.
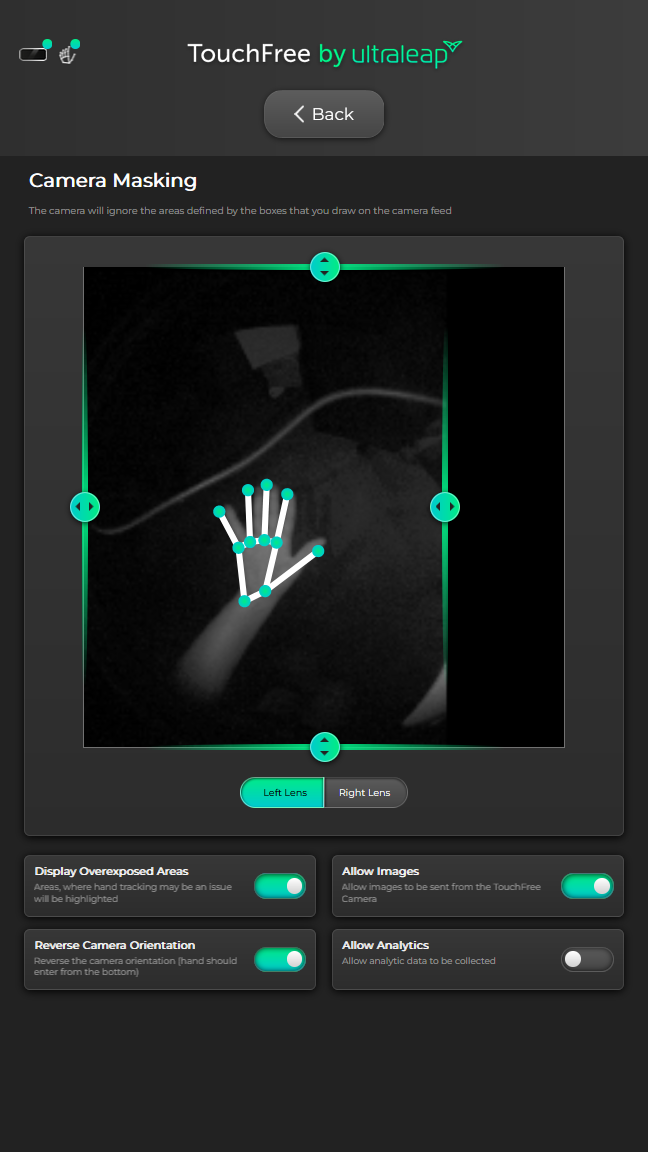
Reverse Camera Orientation
Enabling the Reverse Camera Orientation option will flip the orientation of the images coming from the camera feed. In the camera feed windows, hands should be entering the camera frame from the bottom of the screen. If this is not the case there are two options:
Physically rotate your Ultraleap Hand Tracking Camera by 180 degrees.
Toggle the Reverse Camera Orientation option until the hand enters correctly from the bottom of the camera view, as shown below.

|

|
Camera orientation should be reversed |
Camera correctly oriented |
Interaction Configuration
The Interactions tab allows you to configure the TouchFree interactions to suit your application. You can choose between our three interactions, customise their behaviour, and configure a reduced interaction zone.
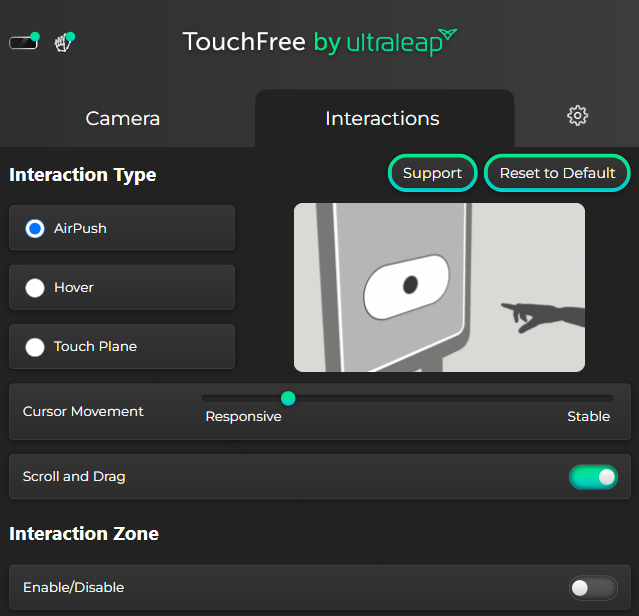
Further information can be found in our guide to Interaction Settings
Configuration Files
TouchFree uses two configuration files on the SD card at ultraleap/touchfree/configuration. The PhysicalConfig.json file is used to configure the placement of your camera relative to the display. The InteractionConfig.json file is used to configure how users interact with TouchFree. These files will be created if they do not already exist on the SD card. The values are read on startup of the device. These files are modified by the Settings UI, or you can edit the files manually. TouchFree will apply the setting when it detects a change to the file, and on restarting the device. These files can be copied between devices so you can configure once, then deploy to multiple devices which share the same physical configuration.
Demo Application
We have a sample BrightAuthor:connected project using TouchFree Tooling for Web available in the Gallery-Example-Demo-BrightSign.zip found alongside this guide in the provided package. This demo displays one of several videos, controlled by buttons in a HTML layer on top, which in turn can be controlled by TouchFree.
To run this demo
Connect an Ultraleap Hand Tracking Camera (for example the Ultraleap 3Di Out of Home Camera) to the system
Install the TouchFree BrightSign Firmware Update (instructions above)
Configure TouchFree using our Settings UI (instructions above)
Unzip the Demo (
TouchFree_Video_Gallery_X.X.X.zip)- Open the
video-gallery-demo-XC2055.bpfx, file from the unzipped folder, in BrightAuthor:connected You may need to re-locate some of the media in the presentation as the filepaths will not be accurate on your machine. If required, the videos (.mp4 files) are hosted in the Media folder, and images are hosted in html-site/Media
- Open the
You can then publish the presentation to your BrightSign media player via your usual method (by deploying to an SD card or directly over the network). If you have completed the TouchFree calibration on one player and are deploying to another, you will need to transfer the Ultraleap folder from the Settings UI into the Demo Application.
You can now control the demo by placing your hand in front of the camera. Once your hand is tracked, move over one of the buttons (it will enlarge when hovered over) and push forward to select and play that video.
TouchFree Integration
Using TouchFree Tooling for Web you can create new touchless interactive presentations with HTML and JavaScript. BrightAuthor:connected presentations can be updated to use TouchFree and we have put together an example on our open-source TouchFree examples GitHub repository to show you how.
Note
TouchFree Tooling 1.4.0 is not currently compatible with the extension for the XT1144. Please visit the support centre and submit a ticket to obtain the appropriate tooling version for this platform.
