Quick Setup
The first and most important step after installing TouchFree is to configure it to match your physical camera setup. To do this select Camera Setup from the TouchFree Service Settings screen.
On the Camera Setup screen select Quick Setup to go through simple steps to configure TouchFree.
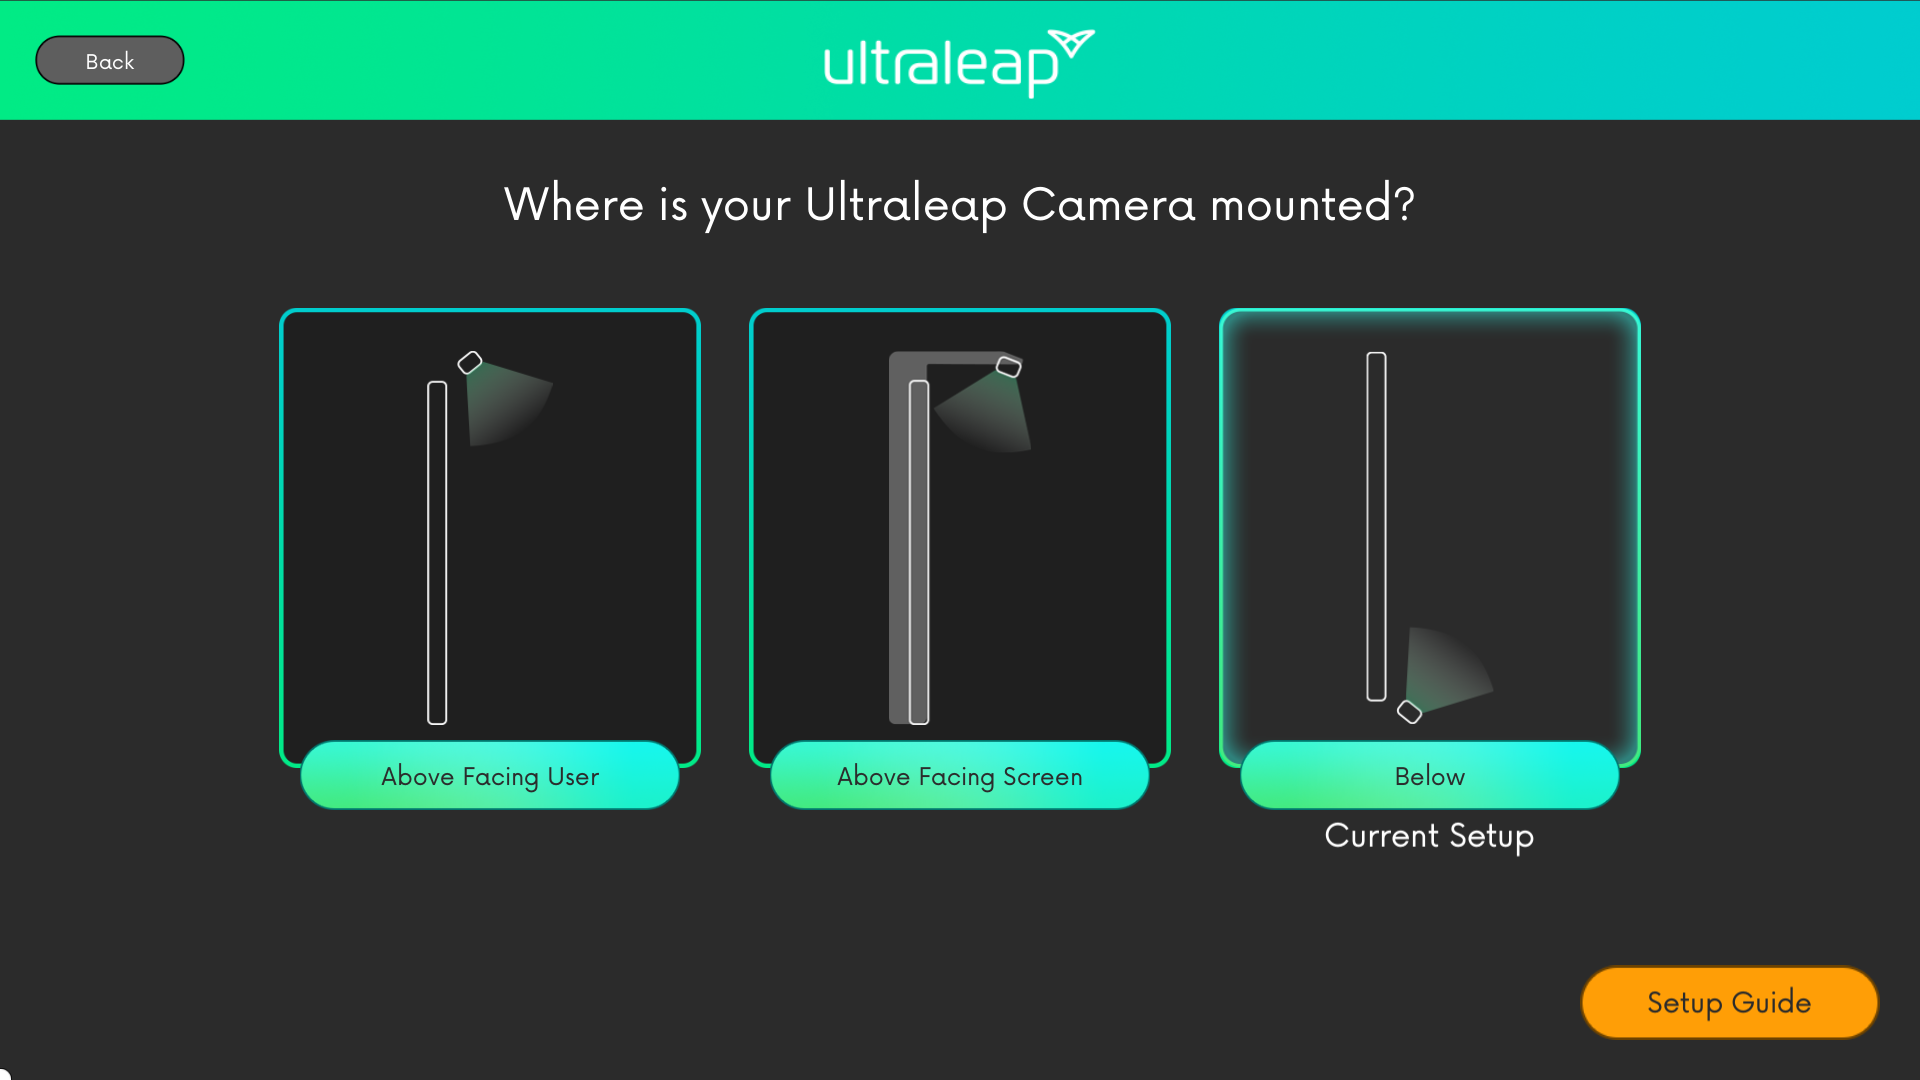
Choose Your Camera Mounting Position
The first step asks you to select the mounting position for your Ultraleap camera.

The default will be the “Below” setup, but select the position that matches how your camera is mounted.
Set the Size and Position of the Virtual Screen
Next, you’ll configure the dimensions and position of your virtual TouchFree screen.
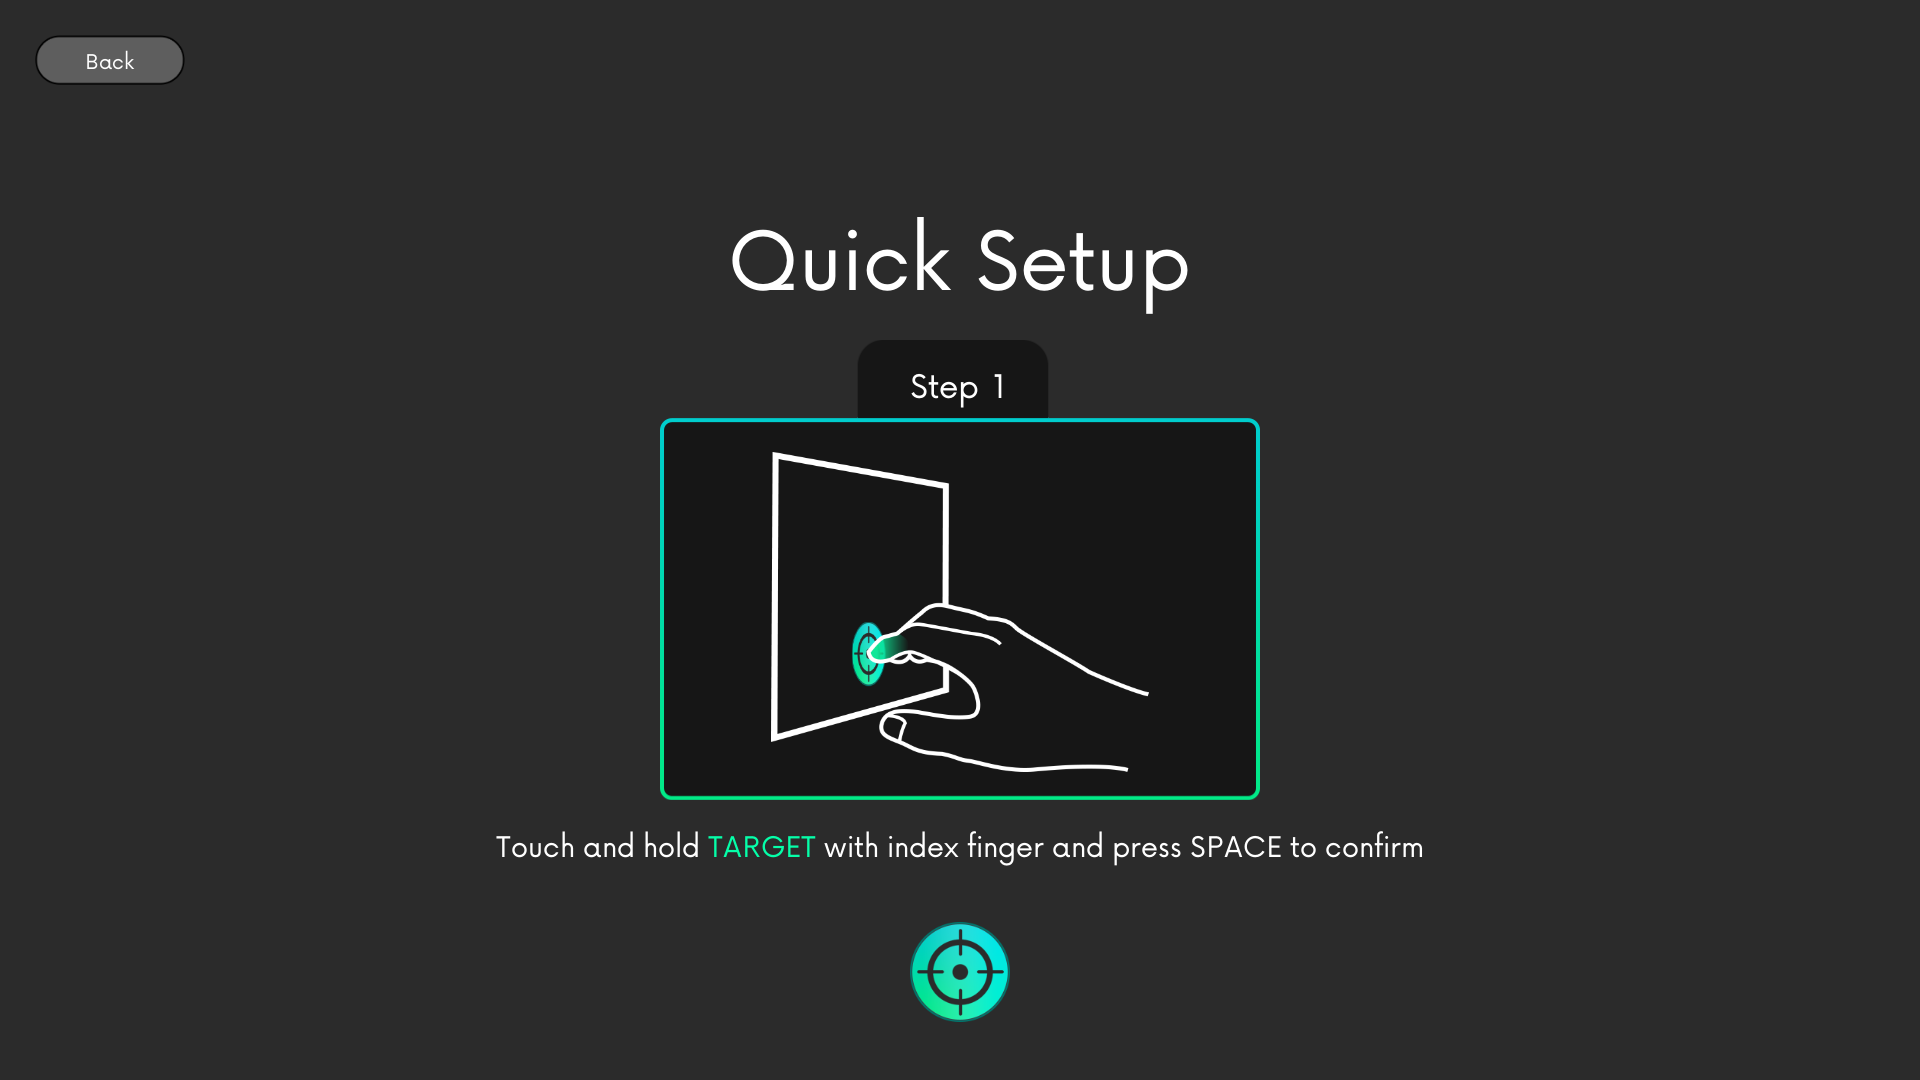
In Step 1 a target will appear in the bottom centre of the screen.

Position your finger directly over the target as shown on screen and press the Space Bar to progress.
Tip
To increase the accuracy of the setup, it is recommended that you actually touch the screen directly on the targets. Ensure your finger remains in position until the Space Bar has been pressed.
Tip
Because TouchFree uses your Ultraleap camera to measure the screen, we suggest you make sure the camera can see all of your fingers (hold your hand open like the image on the screen). This can improve the accuracy of the Quick Setup.
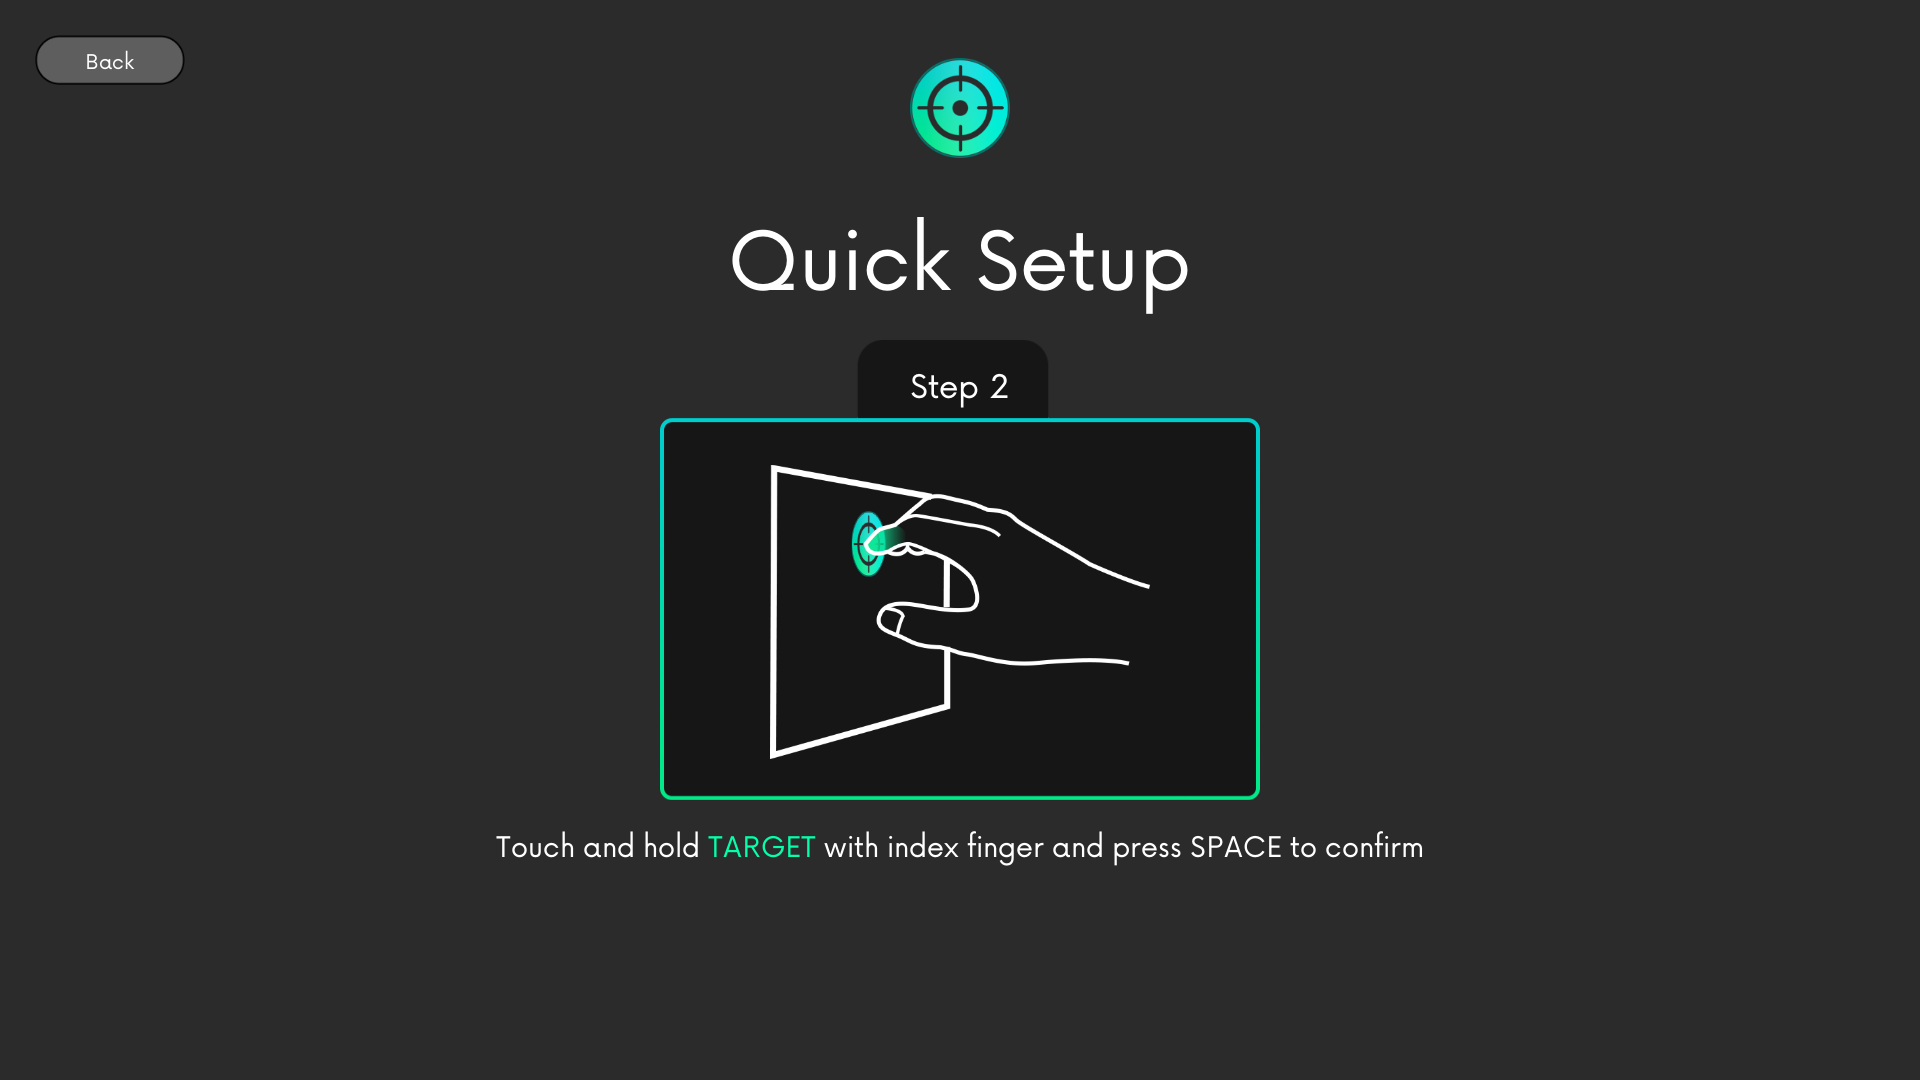
In Step 2 the target will appear in the top centre of the screen.

Repeat the same action as before, positioning your finger directly over the target and pressing the Space Bar.
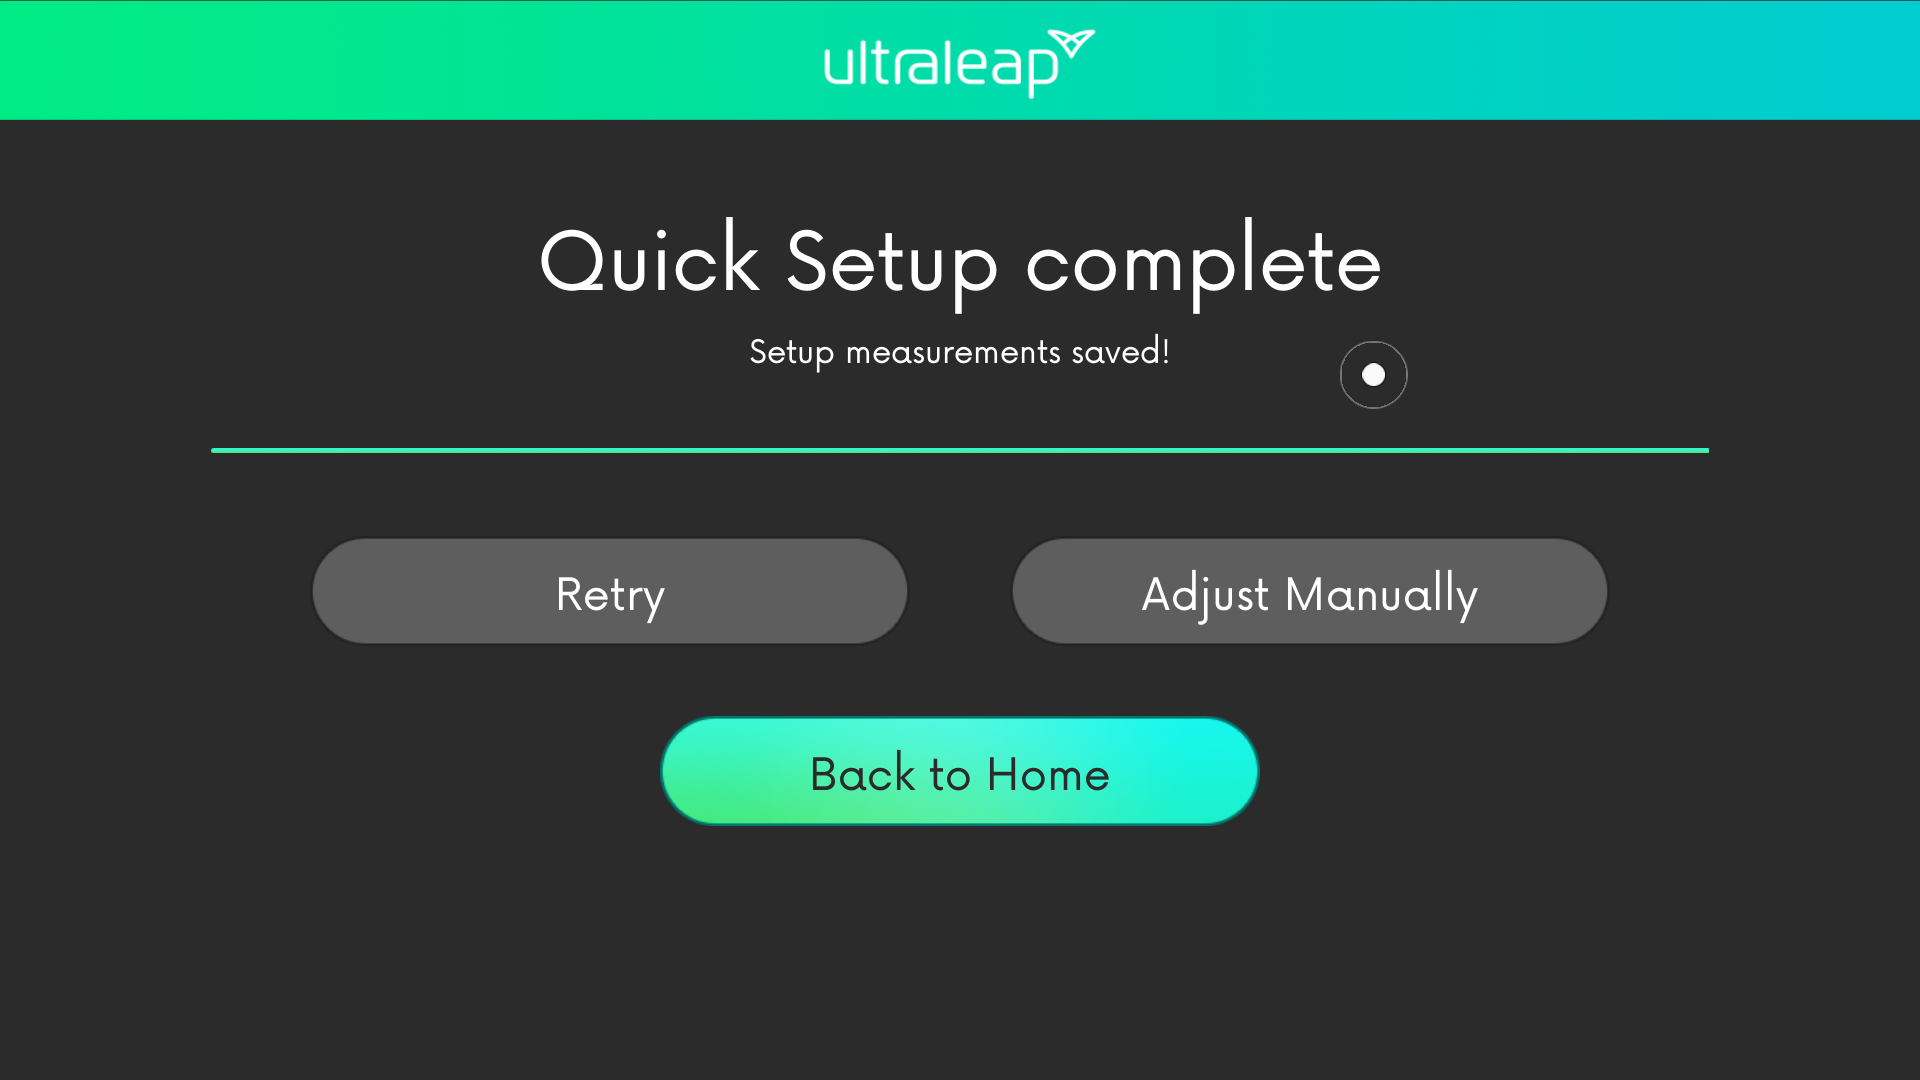
This will complete your Quick Setup, and a touchless cursor will appear on screen.

You can manually adjust the setup after this stage if required.