Camera Position Visualizer User Manual
Overview
The Ultraleap Camera Position Visualizer (CPV) helps you determine the ideal position for the Ultraleap Hand Tracking Camera.
The CPV tool generates a visualization of the 3D interaction zone for your chosen camera.
You can visualize different screen sizes and orientations to simulate your kiosk setup. Model the tracking zone and field of view to find the best position and angle for your needs.
You can also upload a sample screenshot of your kiosk interface. This is projected onto the virtual kiosk screen within the tool.
Note
You do not need an Ultraleap Hand Tracking Camera to use the Camera Position Visualizer. Explore the CPV to help decide which Ultraleap camera best meets your requirements.
Camera Position Visualizer Controls
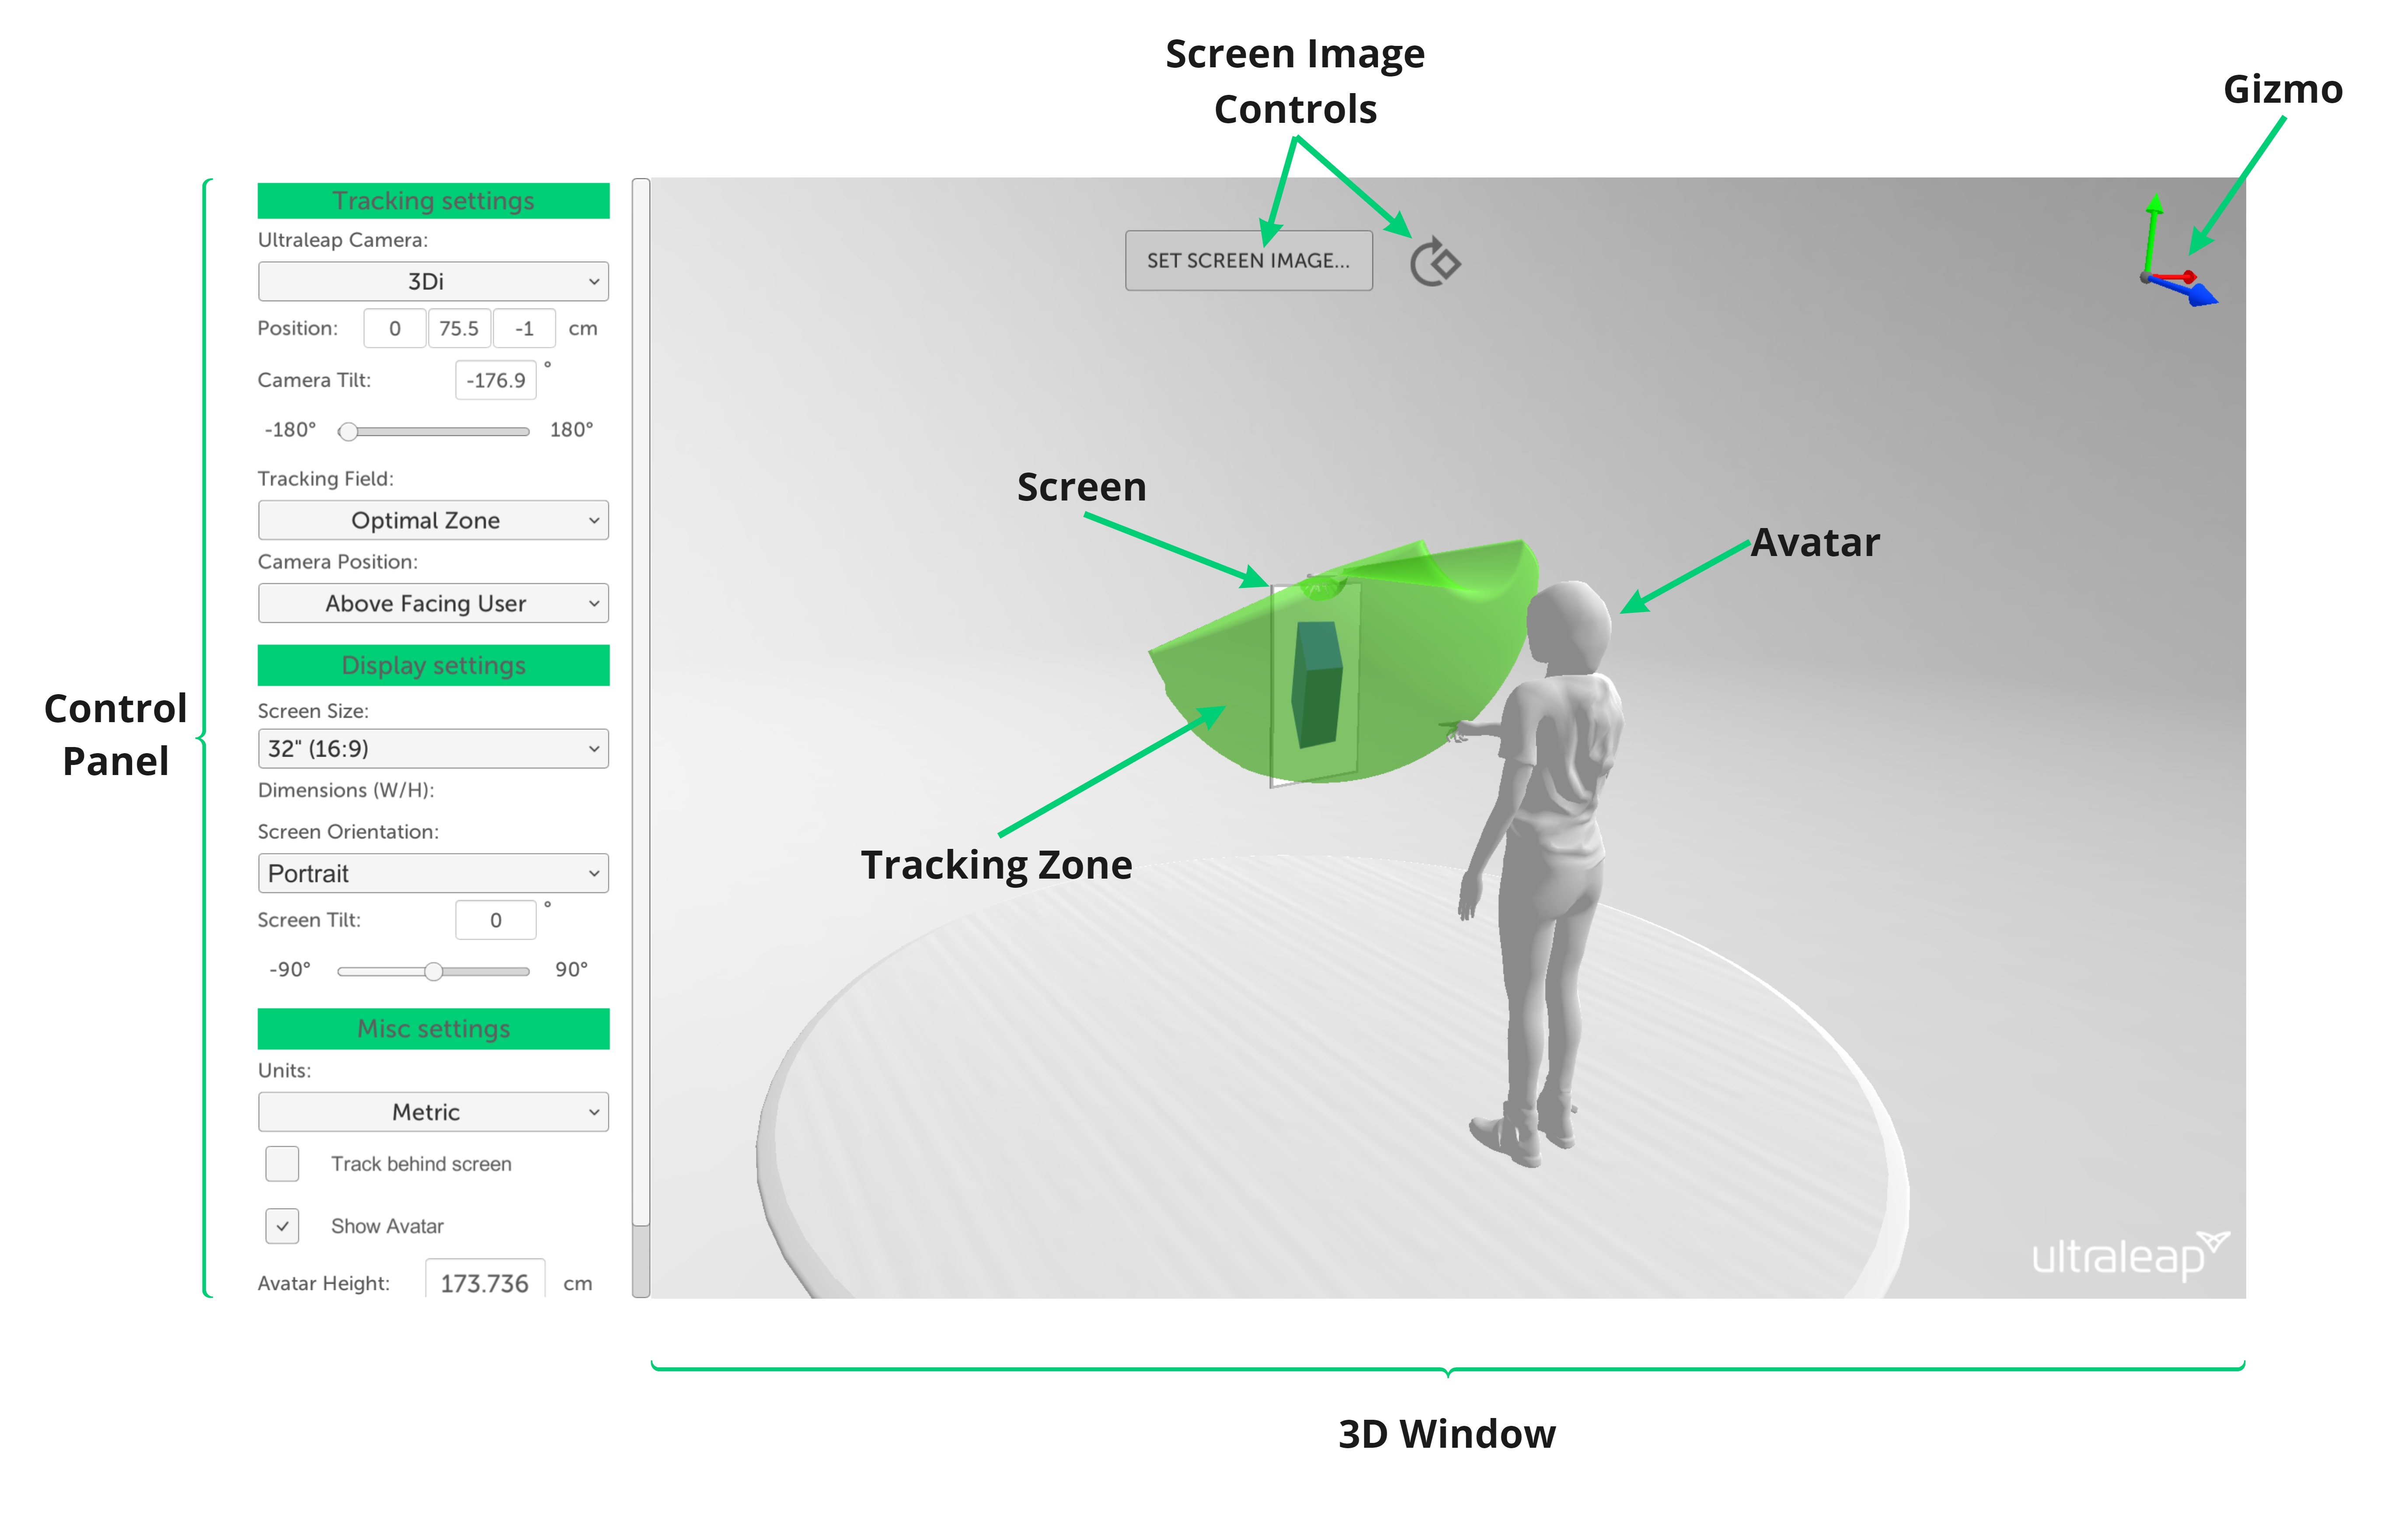
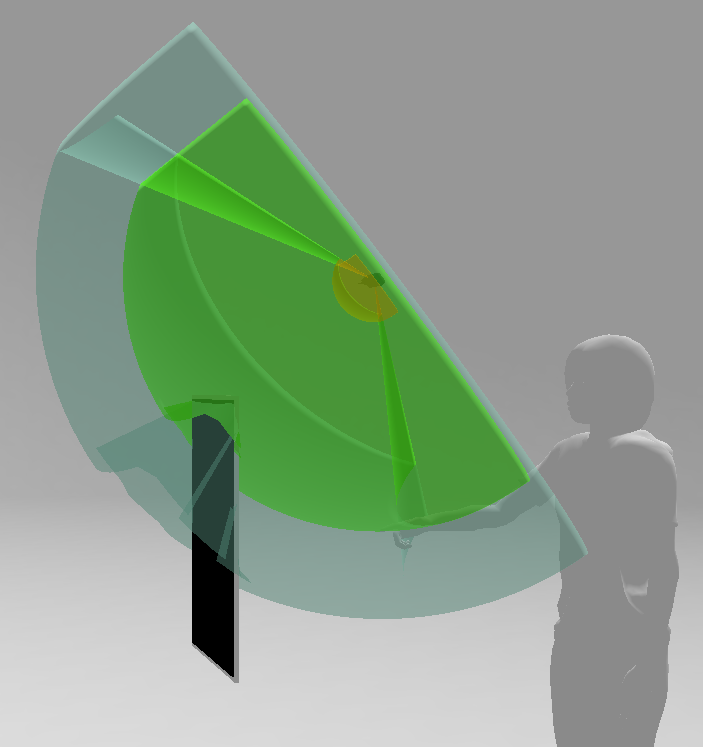
The CPV models an avatar standing in front of an interactive screen. In this image, the 3D tracking zone is visualized. Read on to find out more about how to control the various functions of the CPV.
General 3D Controls
Control |
Description |
|---|---|
Pan 3D View |
Press and hold right mouse button within the Camera Position Visualizer 3D Window and move the mouse |
Rotate 3D View |
Press and hold left mouse button within the Camera Position Visualizer 3D Window and move the mouse |
Zoom Camera |
Scroll up and down to adjust 3D Window zoom |
Ultraleap Camera Controls
Control |
Description |
Example |
|---|---|---|
Select the Ultraleap Camera |
Left mouse click on the device. The device is located at the centre of the displayed tracking zone. |
|
Move the Ultraleap Camera |
Once the Ultraleap camera is selected, a 3D gizmo will appear over the device. Hovering over any of the axes whilst pressing and holding the left mouse button and simultaneously dragging the mouse will move the device along the chosen axis. As the device is moved around, the Tracking settings position will also update in the Control Panel to the left. |
|
Rotate the Ultraleap Camera |
Using the same method as moving the Ultraleap camera, left mouse click to select the device and bring up the 3D gizmo. By default, this will display the Translate gizmo (represented by 3 colored arrows showing the axes of movement). Press the E key on the keyboard to switch the gizmo to rotation. This will change the gizmo into three arcs which can be individually dragged using the left mouse button to rotate the device to the desired angle. |
|
Note: When you have the device selected, it is possible to toggle between Translate (move the device) and Rotate (tilt the device) by pressing the E key for rotation and the W key for translation. |
||
Toggle the Measurements display |
By pressing the Spacebar, users can toggle measurement information on/off in the 3D view. This will display width and height information for the screen as well as the distance of the Ultraleap camera from the screen. |
|
Fixed Camera View Keys
You can quickly visualize your setup from various angles to assess the camera’s tracking zone. The CPV includes the following preset camera views, accessible via hotkeys:
Control Panel Settings
The Control Panel on the left side of the tool contains menus and input fields. Here you can adjust the placement and orientation of elements within the 3D Window.
For example, enter values here to precisely adjust the position/orientation of the Ultraleap Hand Tracking Camera. If the camera is adjusted manually in the 3D Window, these values will update accordingly.
Tracking Settings Panel Overview
Selecting an Ultraleap Camera
Choose which Ultraleap Hand Tracking Camera to visualize using the dropdown menu in the Tracking Settings panel. For smaller screens we recommend the Leap Motion Controller. For larger screens, we recommend the Ultraleap 3Di or the Stereo IR 170 Camera Module.
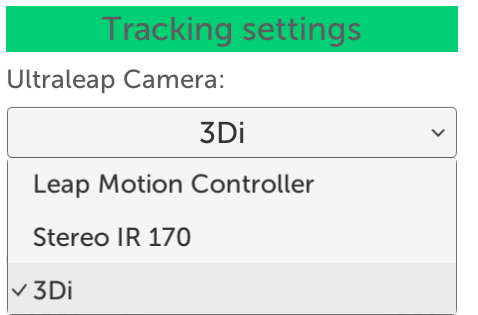
Camera Position and Camera Tilt Input Fields
Use the table below to determine the best measurements to enter into the Camera Position and Tilt Input Fields.
Ultraleap’s Hand Tracking Software supports Above Facing User, Above Facing Screen and Below camera module mounting positions.
Above Facing User |
Above Facing Screen |
Below |
|---|---|---|
The Ultraleap camera should be positioned so that it is at least 15 cm from the highest point on the screen that users will be interacting with |
The Ultraleap camera module should be at least 10 cm away from the highest point where the hand enters |
The Ultraleap camera module should be at least 10 cm below the lowest point on the screen that users will interact with |
For best results, you must ensure that the camera is positioned at a minimum depth of 1 cm away from the screen |
Ensure that the camera is a minimum of 1 cm away from the screen |
|
The camera tilt should be no more than 30° from the horizontal – recommended angles are between 15° to 30° |
The camera tilt should be between 15° to 85° from the horizontal |
The camera tilt should be no more than 20° from the horizontal |
Selecting the Tracking Fields
The tracking fields are the visualized tracking zones that can be seen within the 3D Window. Choose between the Maximum, Optimal, and Untrackable regions of the Ultraleap Hand Tracking Camera. Select one or more options from this dropdown menu and they will be visualized in the 3D Window.
Note that the tracking fields vary depending on the type of Ultraleap camera that has been selected.
Selecting the Camera Position
There are three tracking modes that are represented by Camera Positions. Selecting one of these options will change the camera’s position to a suitable default for that tracking mode.
Display Settings Panel Overview
The Display Settings Panel allows the user to customize the size and orientation of the virtual display.
Adjusting Screen Size
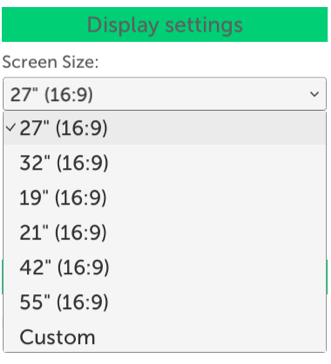
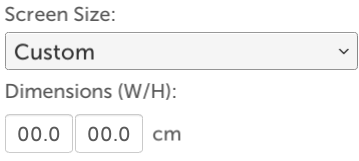
Choose from a set of common screen sizes and ratios, or select the Custom option at the bottom of the dropdown list to enter the exact dimensions of your display.
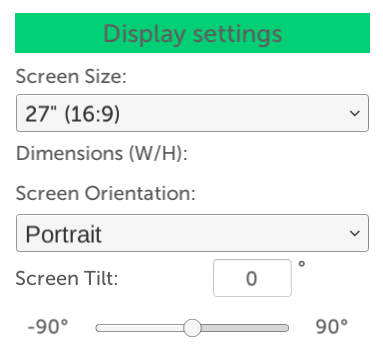
The Screen Size dropdown menu allows common screen sizes to be selected.
The Custom option in the dropdown menu allows for the input of non-conventional screen sizes.
Adjusting Screen Orientation
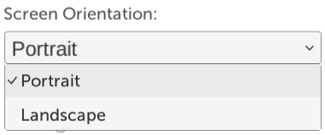
Use the Screen Orientation dropdown to select portrait or landscape orientation.
Adjusting Screen Tilt
Some screen and kiosk set-ups involve screens tilted to angles other than 90 degrees. The Screen Tilt controls allow for adjustment to the tilt of the screen relative to the user. Exact values can be added using the input fields, or the slider can be used to quickly adjust the screen orientation.

Miscellaneous Settings Panel Overview
Units of Measurement
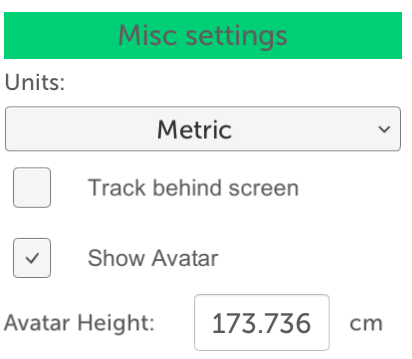
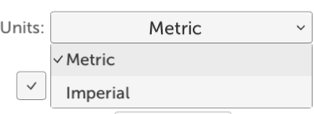
The Units dropdown menu allows for either metric (centimetres) or imperial (inches) to be selected. This affects all values adjusted within the tool.
Track Behind Screen
Enabling Track Behind Screen allows for the field of view of the camera to be shown as it would be in full. This also shows any areas behind the surface of the screen that the camera would be capable of tracking when in the position provided. For example, when using Above Facing Screen mode.
Avatar Controls
By default, a mid-sized user avatar will be present in the 3D Window. This represents an average user interacting with a display/kiosk. This can be toggled on/off in the Miscellaneous Settings panel. The height of the avatar can be adjusted to simulate how different users might orient relative to a kiosk.
Import Model
Selecting this button will bring up a dialog that allows you to import a 3D model of your kiosk into the application. You can use this as a reference alongside the tracking volumes of the Ultraleap cameras. OBJ file formats are supported. It is recommended you limit the polygon count of the models to under 25K in order to facilitate rapid importing and smooth performance.

Once selected, you can choose a file from your computer. Alternatively, type the path and name of the file in the input field.
Once you have selected your OBJ file, click the Import button to load the model into the 3D View.
Note
The more complex the 3D model is (i.e. polygon count) the longer it will take to import.
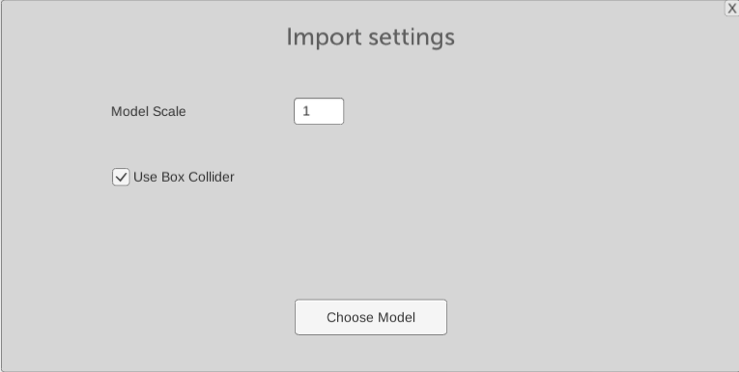
Model Scale
Different CAD and 3D model programs can have different scale values. The default “1” here will import the model in the exact scale of the source software.
Use Box Collider
By default the tool will apply a generic box collider to the imported model rather than the more complex mesh collider. This is an option to increase performance on lower-end computers.
Applying a box collider does not affect the look of the model, it is only used for assessing the Ultraleap tracking volume. Generally, the mesh collider will give a more accurate representation of the tracking volume, but the box collider will afford performance increases.
Adjusting an Imported Model’s Position and Rotation
Users can adjust the position of an imported model in the same way they adjust the position of the Ultraleap camera.
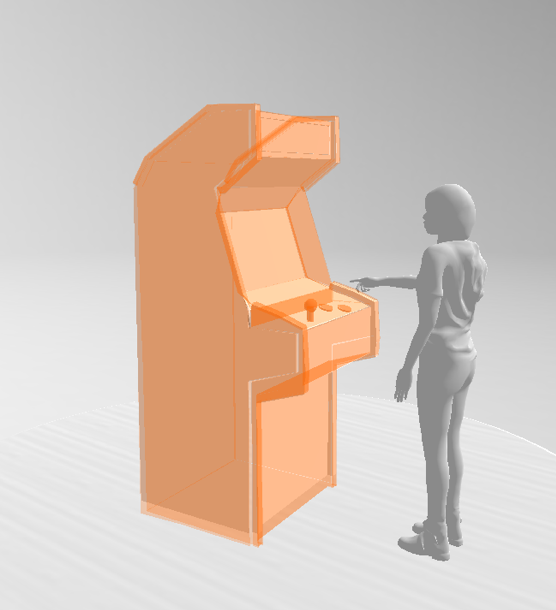
Select an imported model by left clicking on it. The model will highlight orange.
The transform widget will appear. (Note: depending on the model, the widget may be obstructed by the model geometry).
Users can left click and drag on one of the axis arrows to move the model along a specific axis. To rotate the model, press the E key to activate rotation mode and click and drag on one of the arcs to rotate the model. You can return to adjusting the position by pressing the W key.
Deleting an Imported Model
If you need to remove a model that you have imported, simply left click to select the model (highlighting it orange) and press the Delete key.
Note
You may import multiple models into the scene.
Setting and Adjusting the Screen Image
In the Top/Middle of the 3D Window is a button labeled Set Screen Image. Select this using the left mouse button to choose an image to display on the virtual kiosk screen.
The Select image file button appears, which when pressed will bring up an explorer window to locate an image to use. (Cancel will exit this control without choosing an image file.)
Note
If another website is opened, or the browser containing the Ultraleap Camera Position Visualizer is closed, the settings will reset to the defaults. Any images loaded during a browser session will not be stored.
Rotating the Screen Image

It is possible to rotate the screen image in 90-degree intervals using the rotate image button next to the Set Screen Image button. This can be used to orient the image correctly relative to the user.
If you have any suggestions, questions, comments or concerns please contact support@ultraleap.com.


